
This is a fun distressing technique that doesn't take much time, however, there is a slight learning curb. It may not look the prettiest but it will add a bit more character to an otherwise plain project/display. So don't let the finished product of this tutorial scare you off. We will show how it could be used in an upcoming post.

Items needed for this project are:
Item to be painted (i.e. gold candle charger)
Spray bottle with water
Spray Paint in color of your choice
Clear paint sealer
Old Rag-slightly damp
Step 1:
Make sure that the item that you are painting is clean.
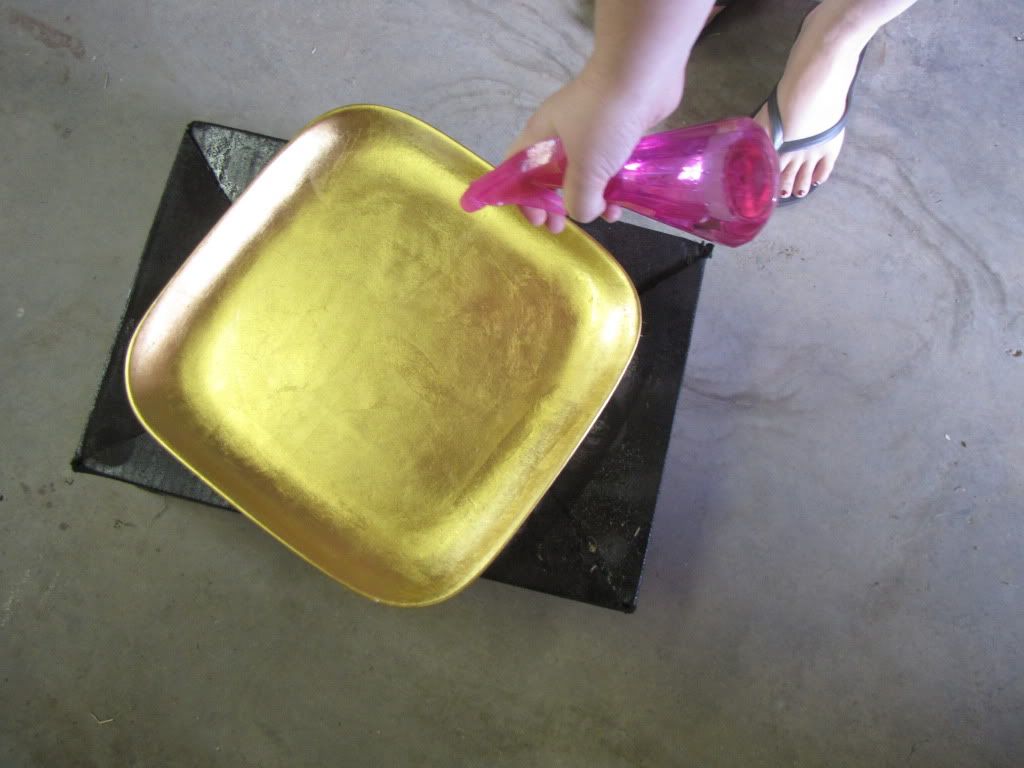
Step 2:
Spray water on the surface. You want to use a good amount of water.

Step 3:
Immediately after you spray the water, you want to start spray painting over the water. Completely coat with paint.
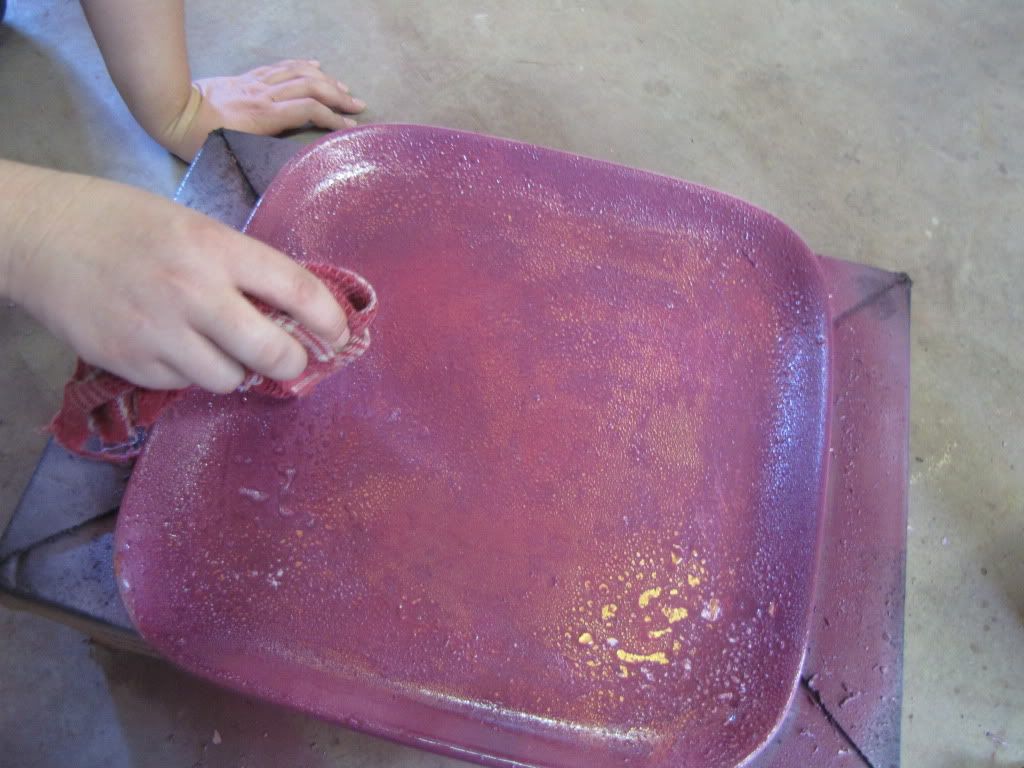
Step 4:
Wait 5-10 minutes for paint to dry. But make sure to watch closely because you don't want the water to dry. Take your slightly damp rag and begin rubbing in circular motion.
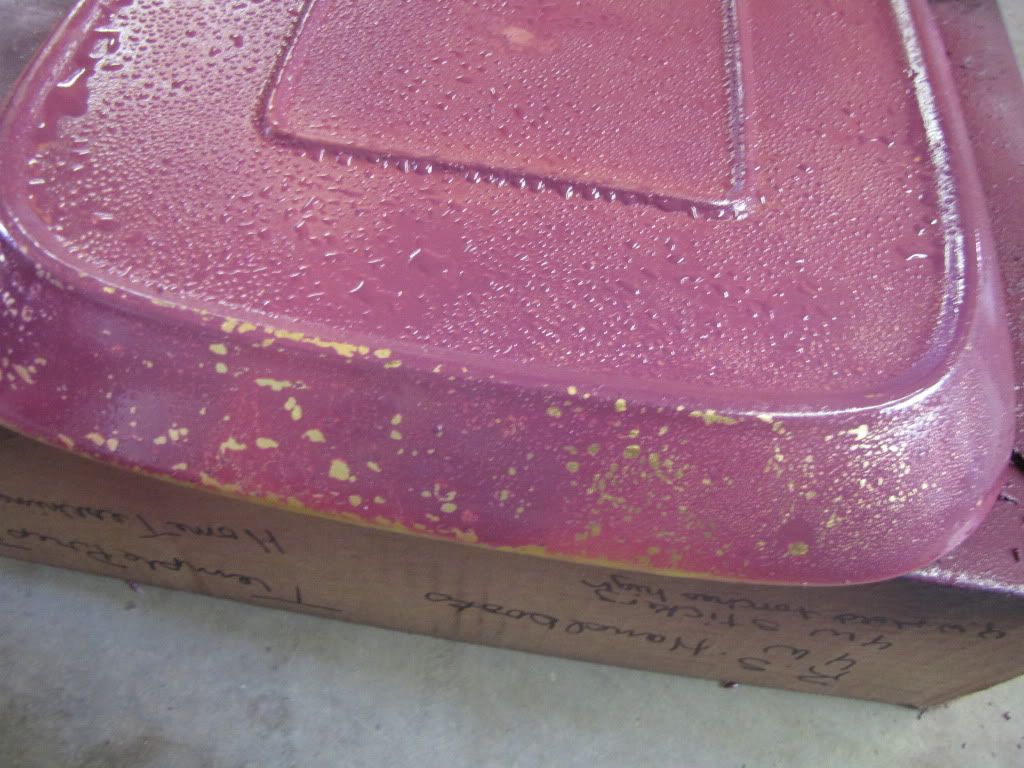
You can see in the picture how there is still water on the surface and what it looks like when you start to buff off the water.
Step 5:
When you have it the way you want it, spray a clear coat over it.
---------------------
Here are 2 examples of what the finished product might look like
---------------------
Here are 2 examples of what the finished product might look like
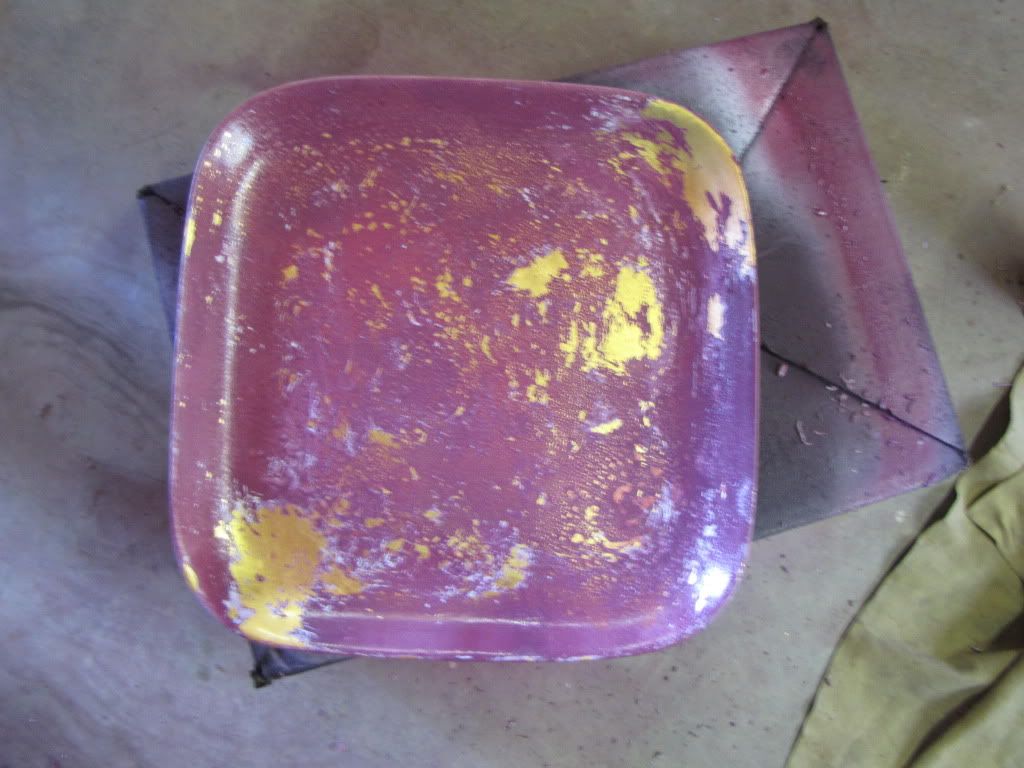
Here is the front and it is really distressed.
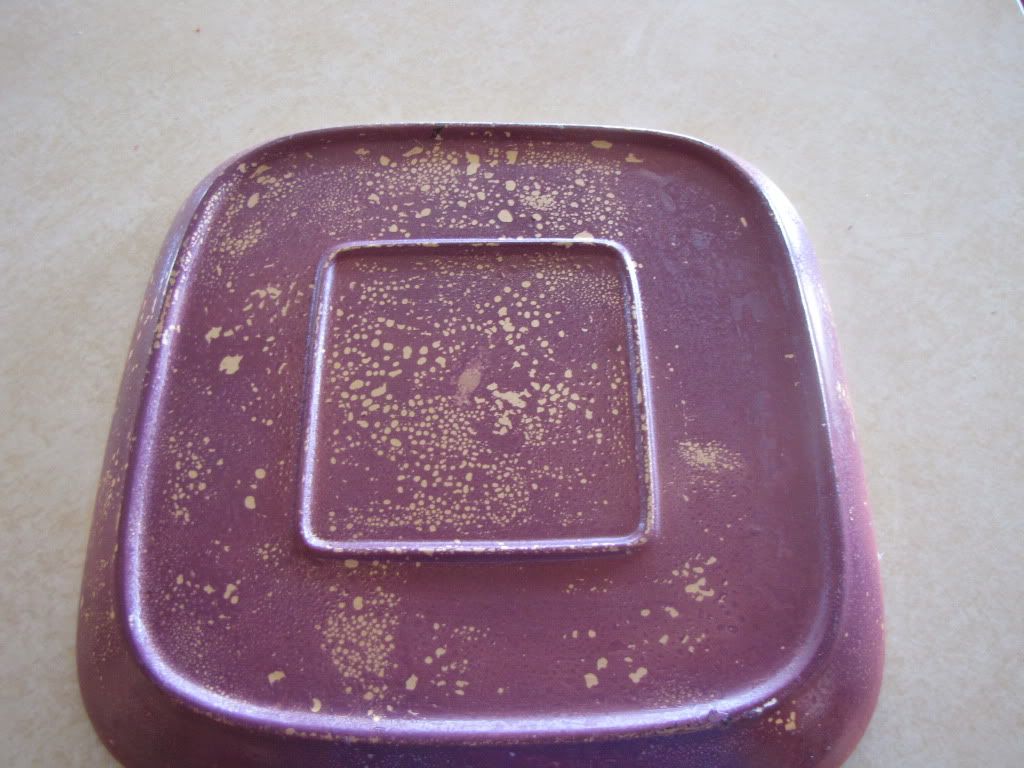
Here is the back of the charger. It simply has the water spots lifted off.
Now that the painting technique is done, we look forward to sharing with you how we can use this item.
To Be Continued....
No comments:
Post a Comment