This is the easiest and fastest little project that is so much fun!!!
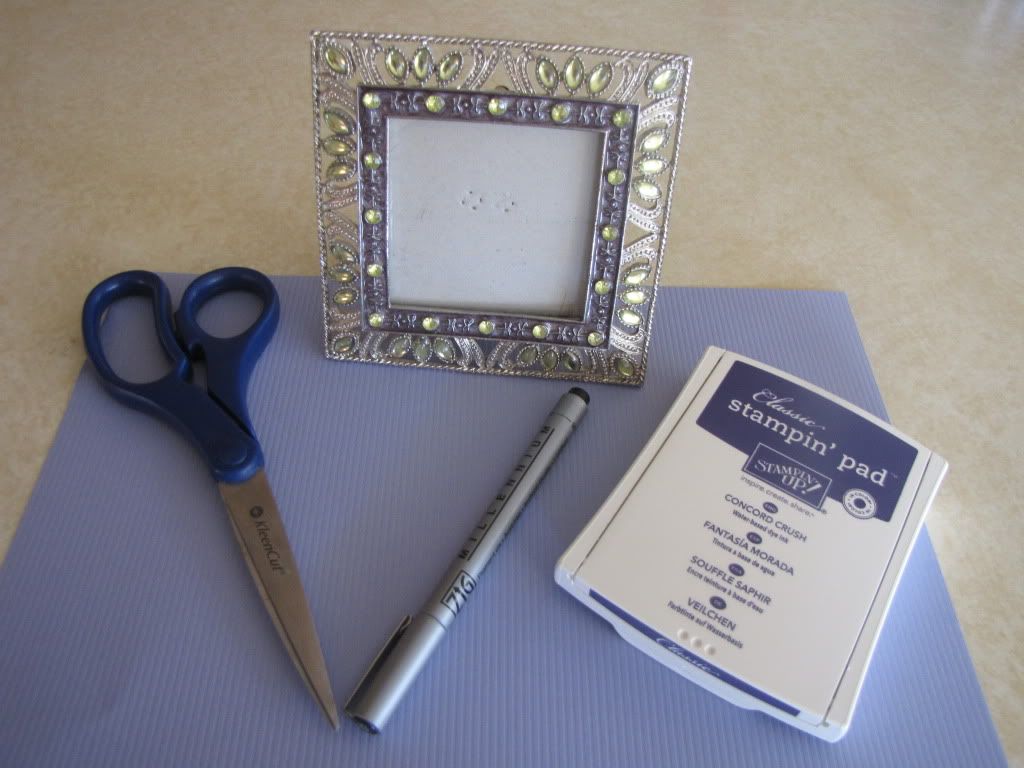
Grab the following for this fast and fabulous creAcipe!
Grab the following for this fast and fabulous creAcipe!
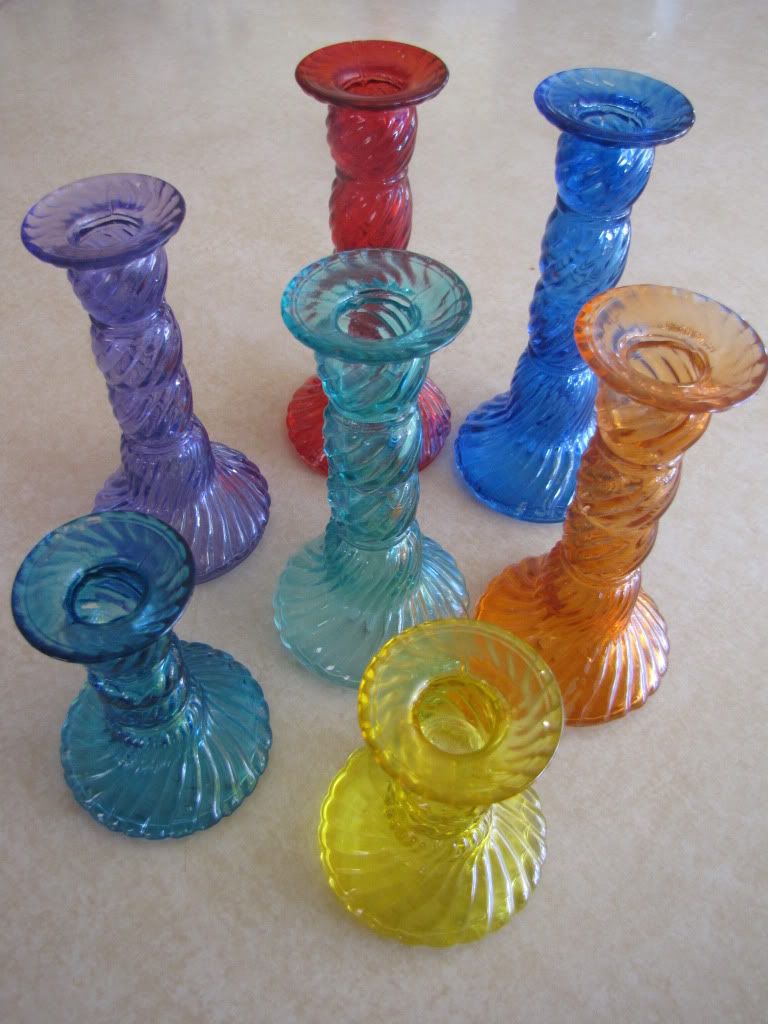
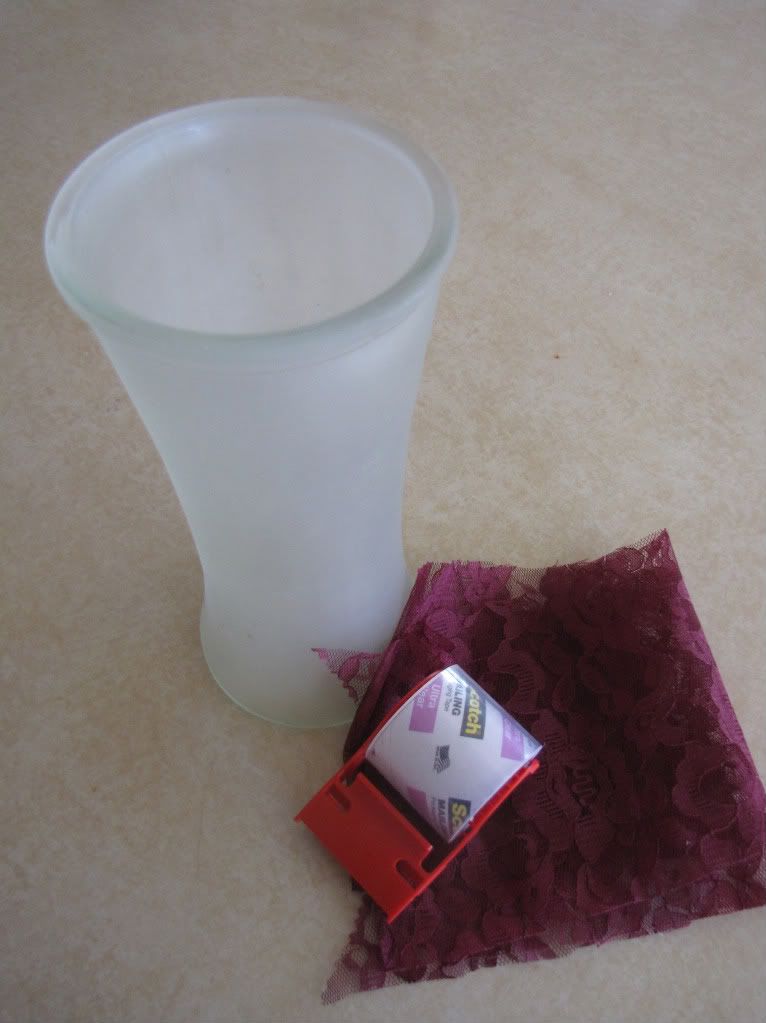
Glass Vase
Spray paint color of choice
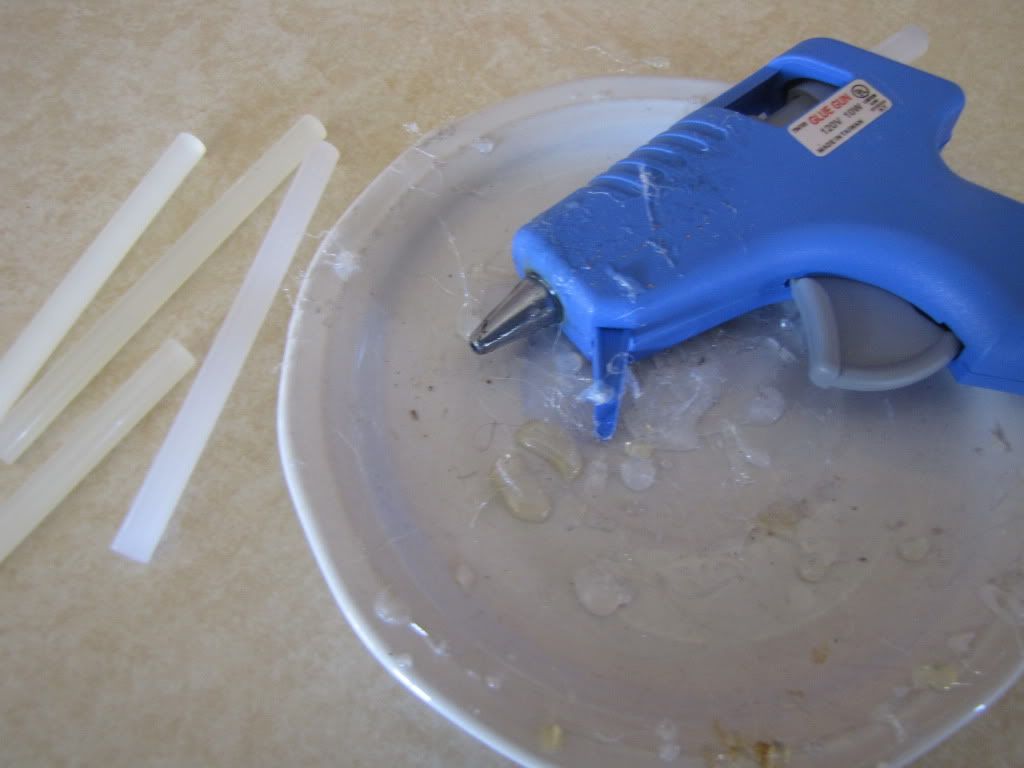
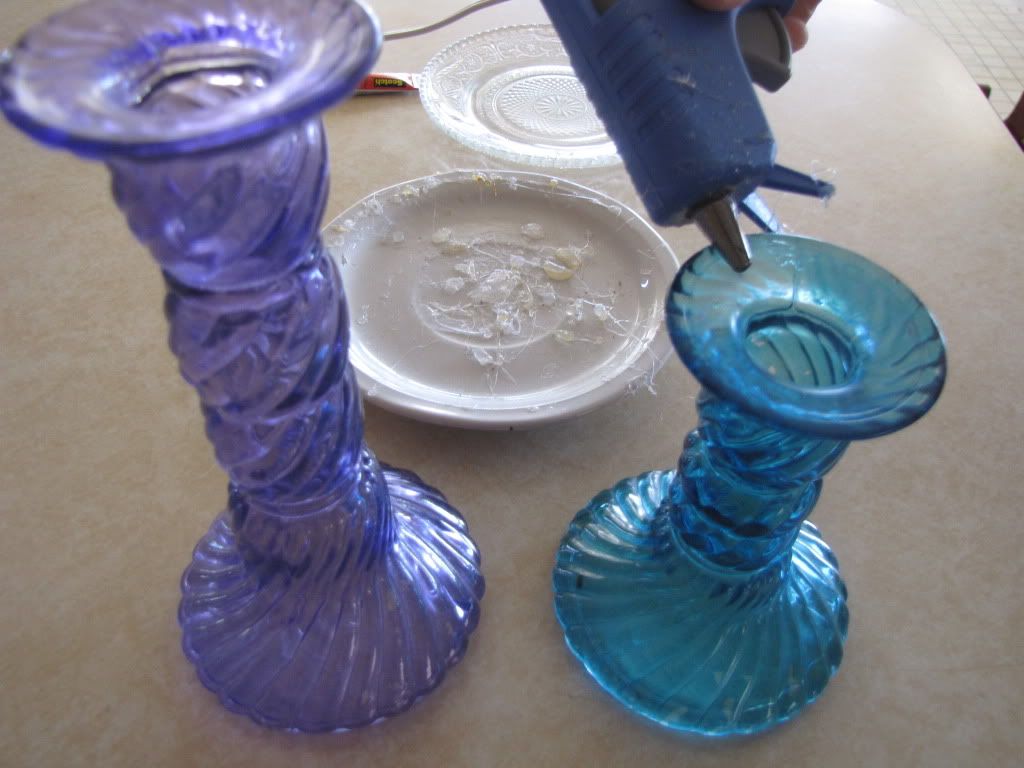
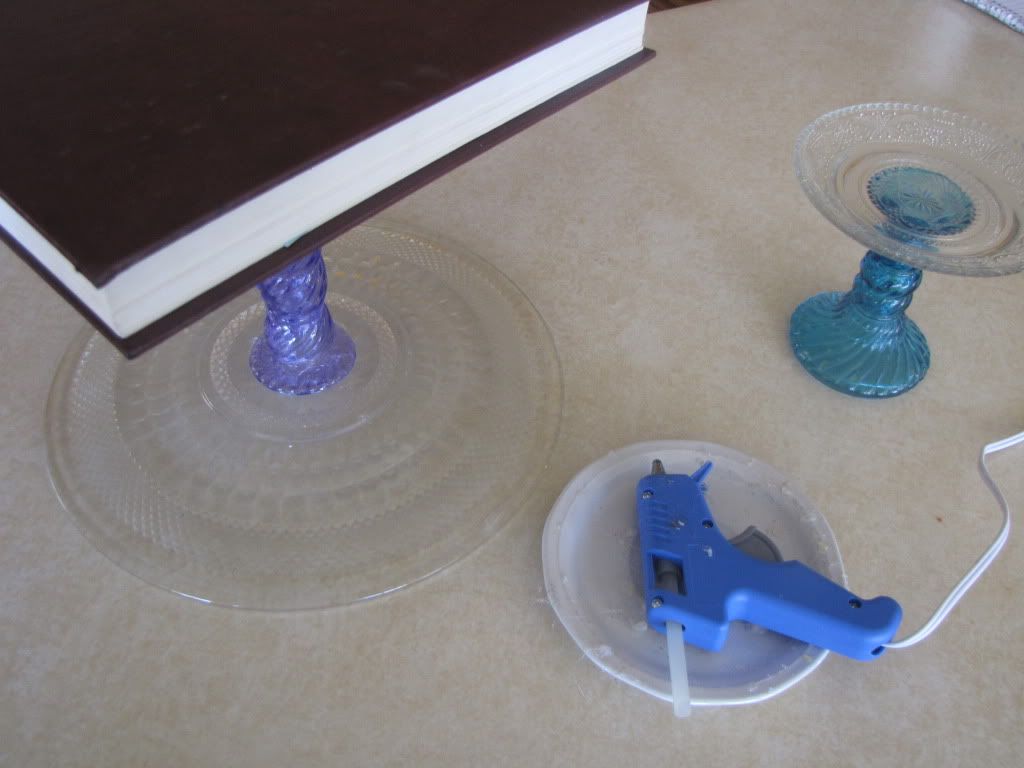
Adhesive
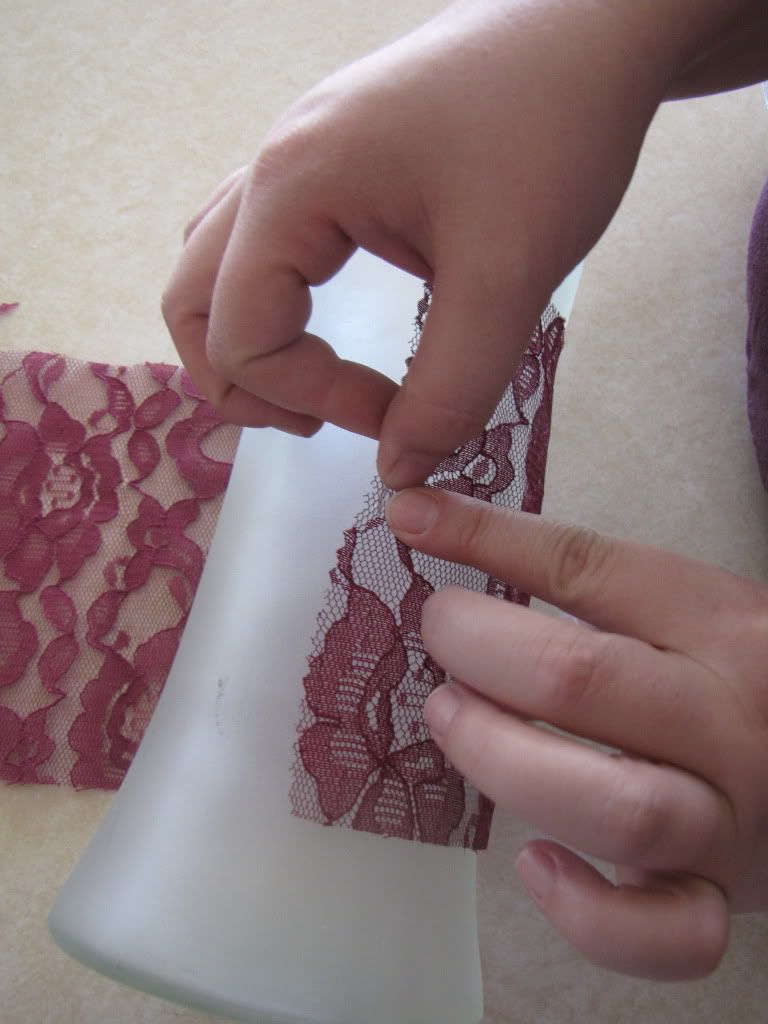
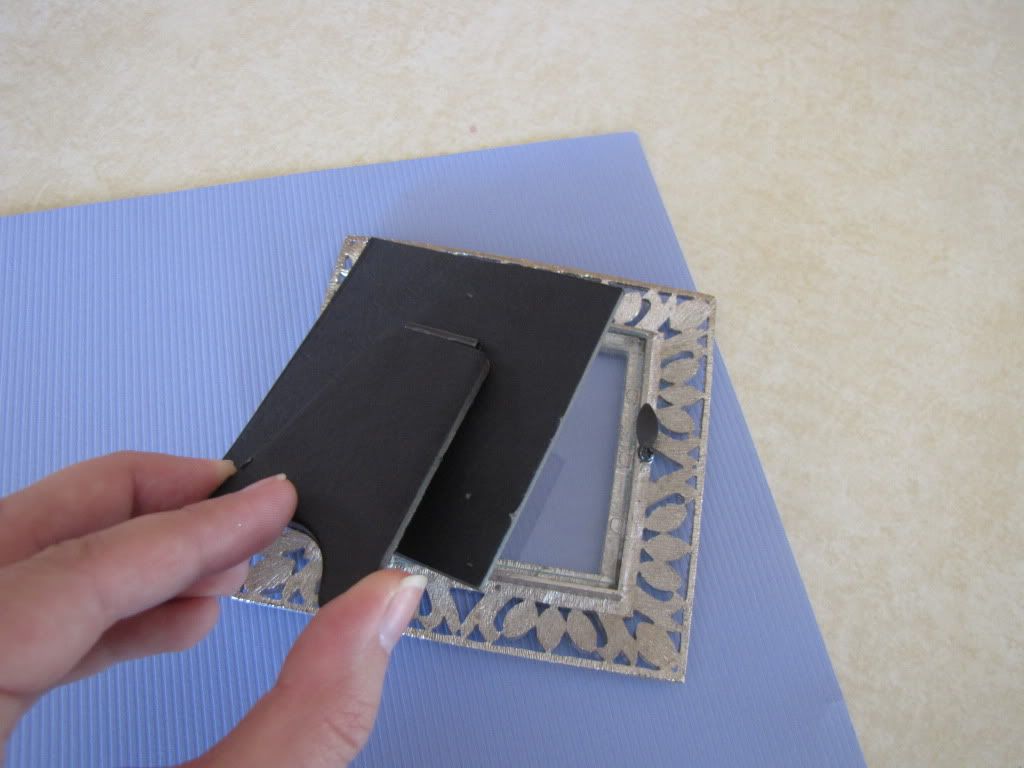
Step 1: You will need adhesive that will securely hold the lace. We originally tried tape which didn’t work, so we used a dot of hot glue. It held it well, but we think that the best glue would be some repositionable spray adhesive. We plan to retry this in the future! We will update you.
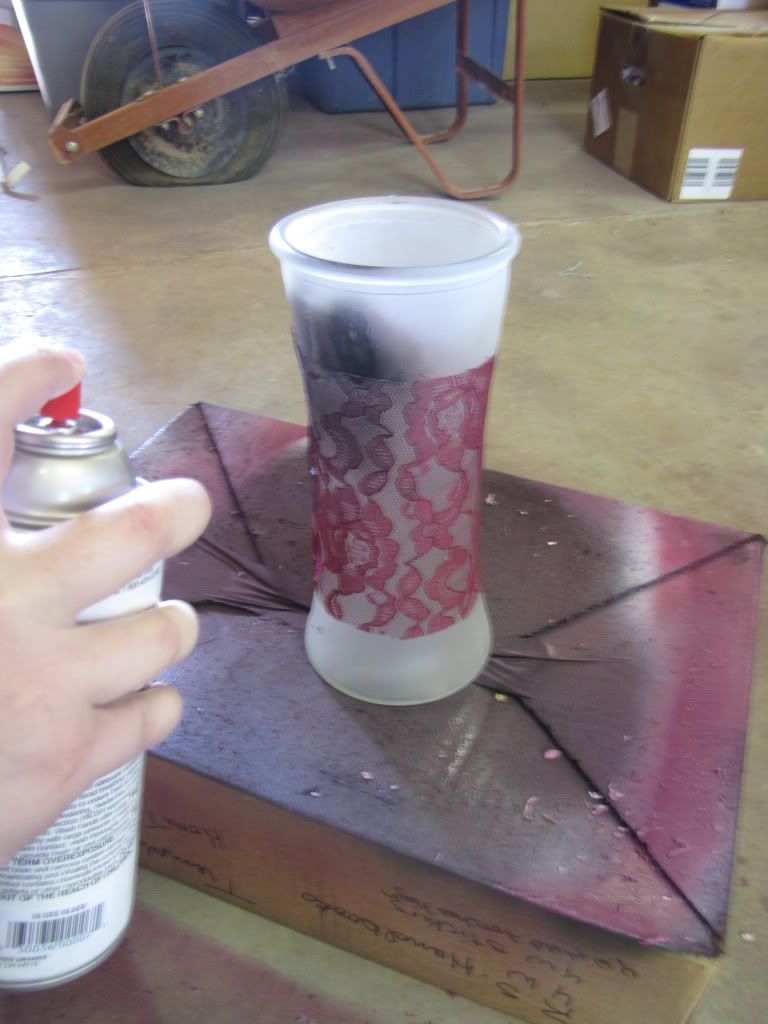
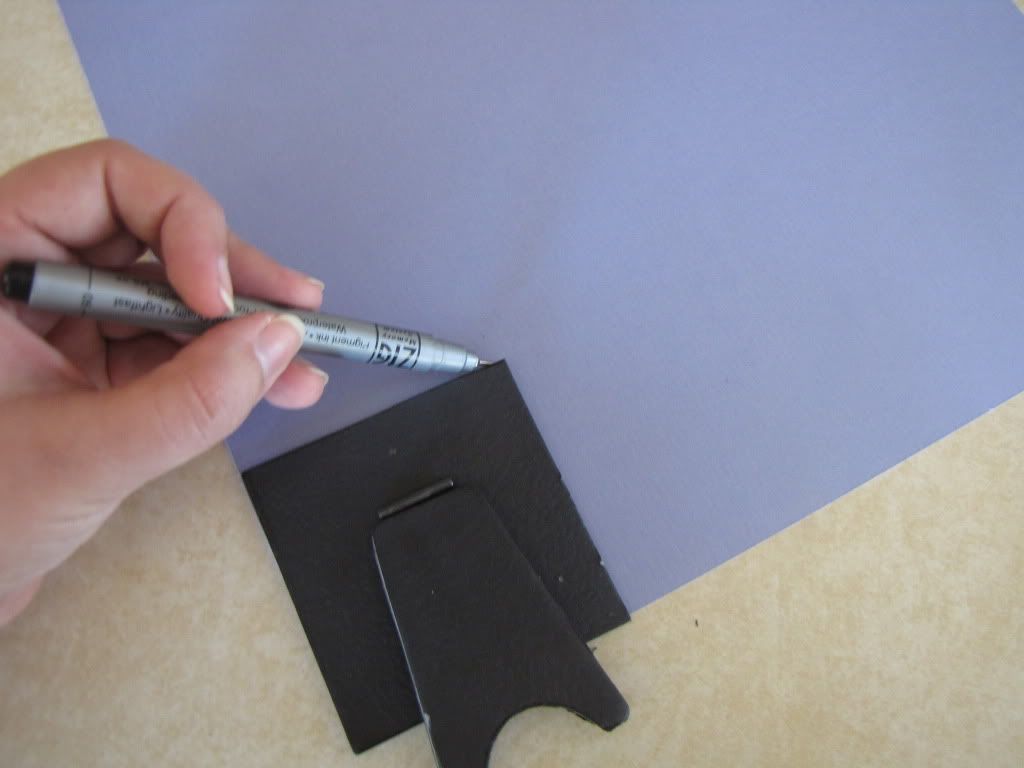
Step 2: Once the lace is secure, you can simply start spray painting. Completely spray vase.
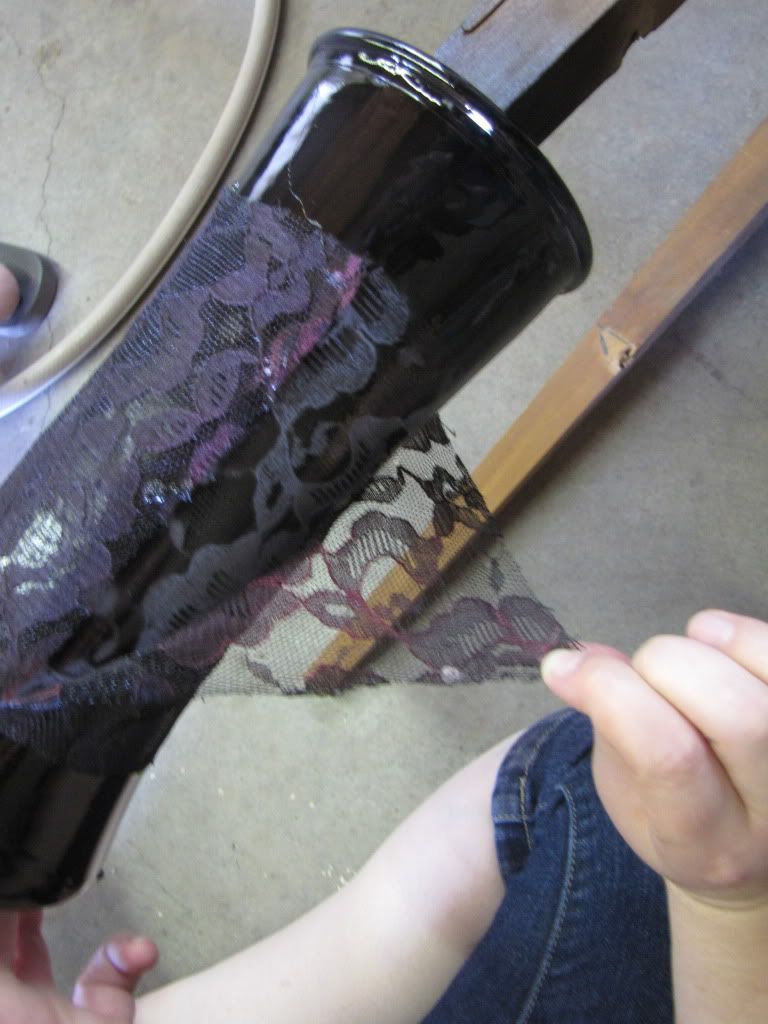
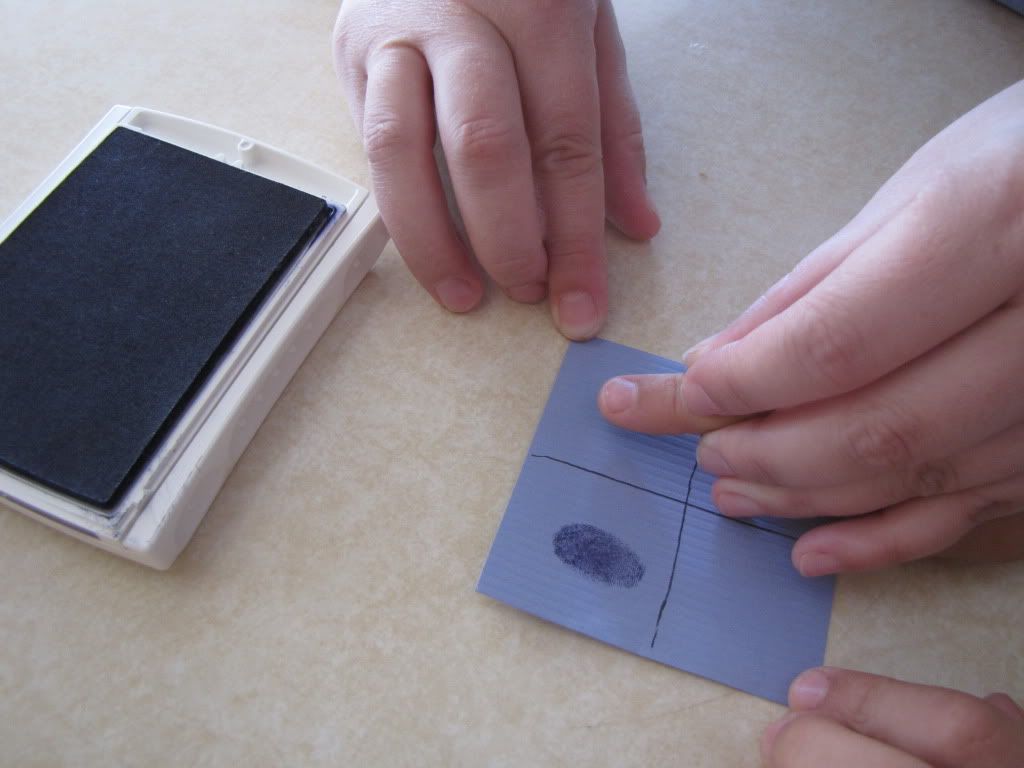
Step 3: Once sprayed let sit for 2-3 mins then carefully remove the lace.
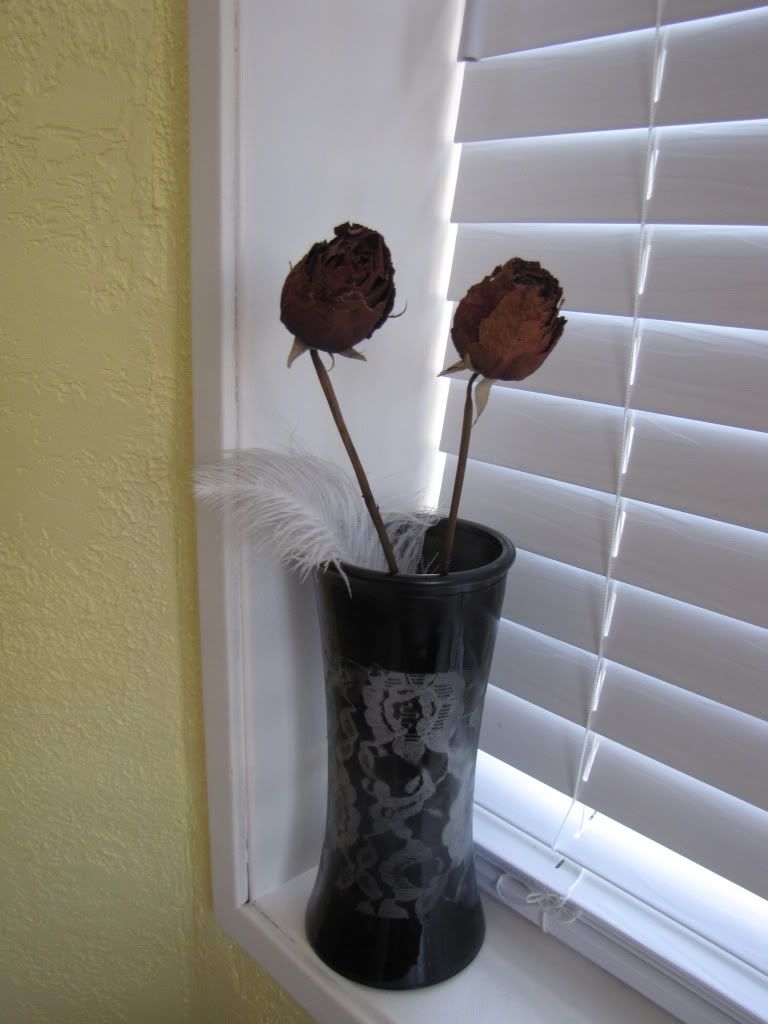
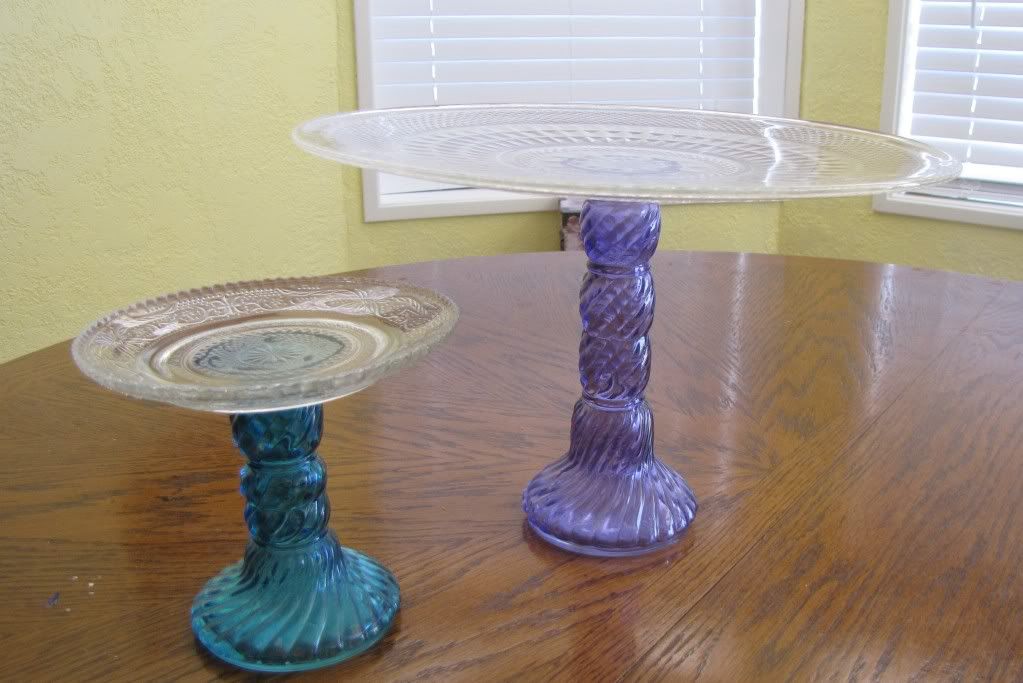
Step 4: Enjoy!!!