Showing posts with label Crafting. Show all posts

Friday, October 7, 2011

Paper Flower-Rosetts

Items you will need:

Card stock
Pen/Pencil
Scissors
Hot Glue

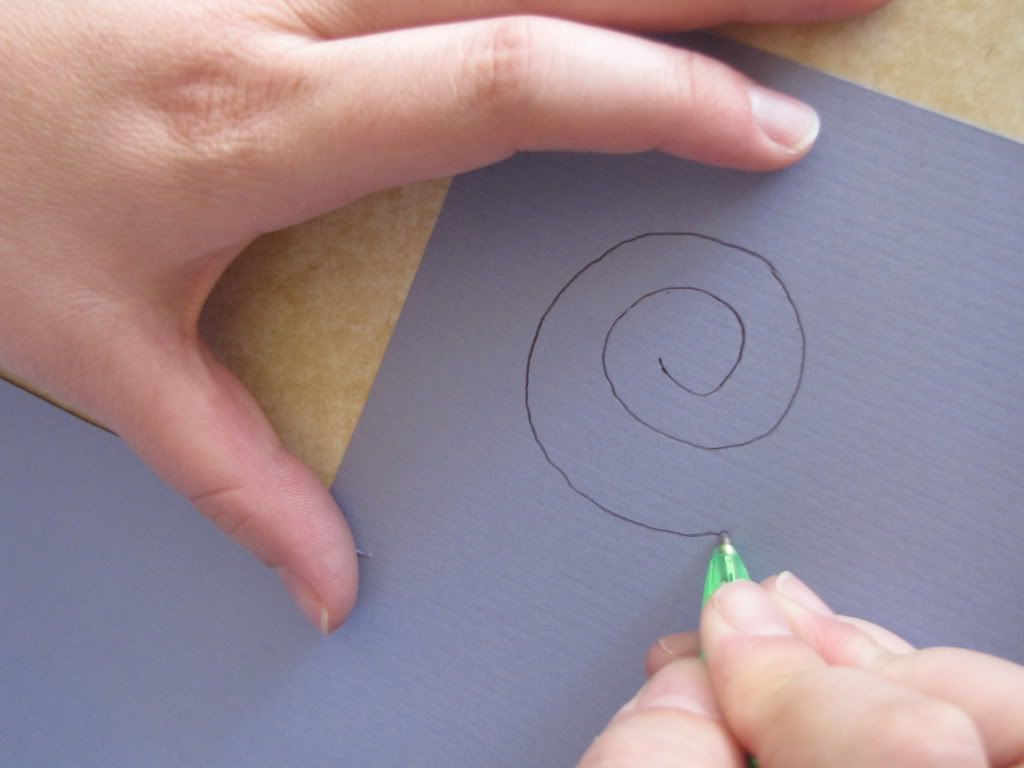
Step 1:
Draw a spiral onto a piece of card stock.


Step 2:
Cut along the spiral that you drew.


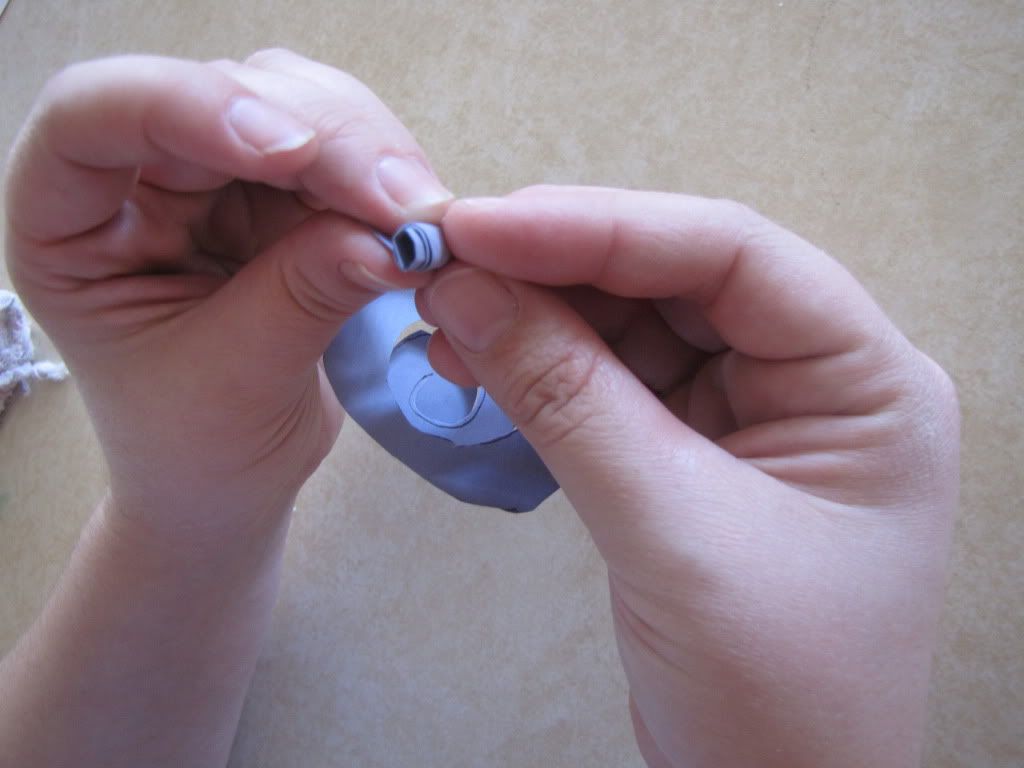
Step 3:
Begin rolling and glue when needed.


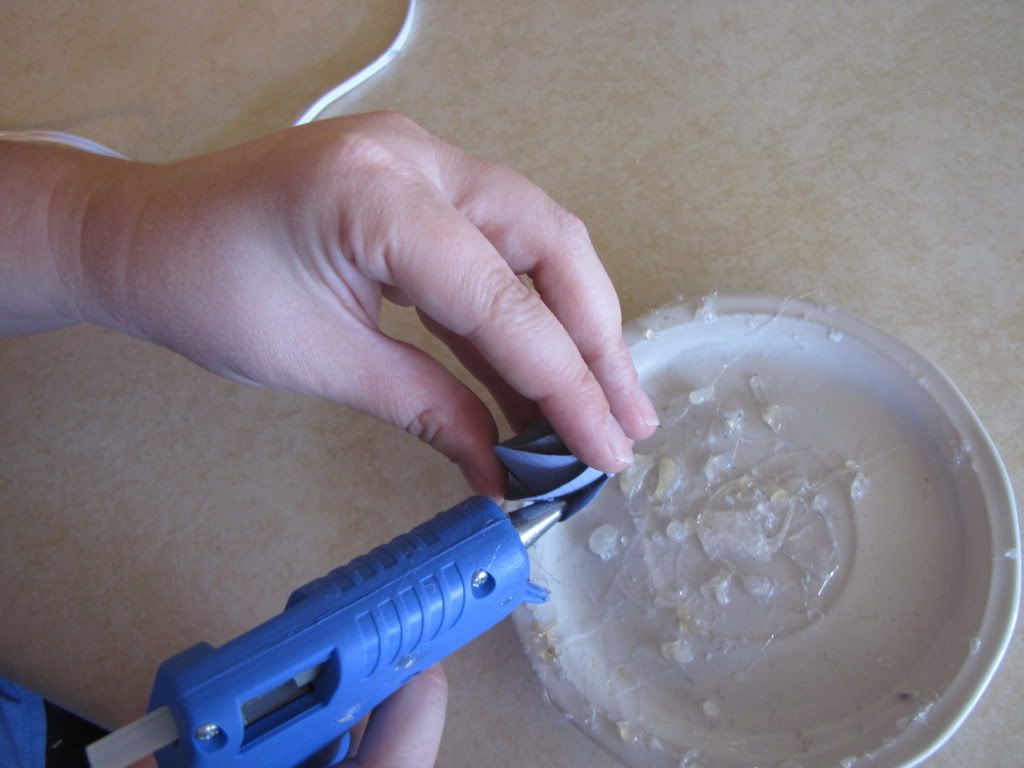
Step 4:
Secure end with glue.


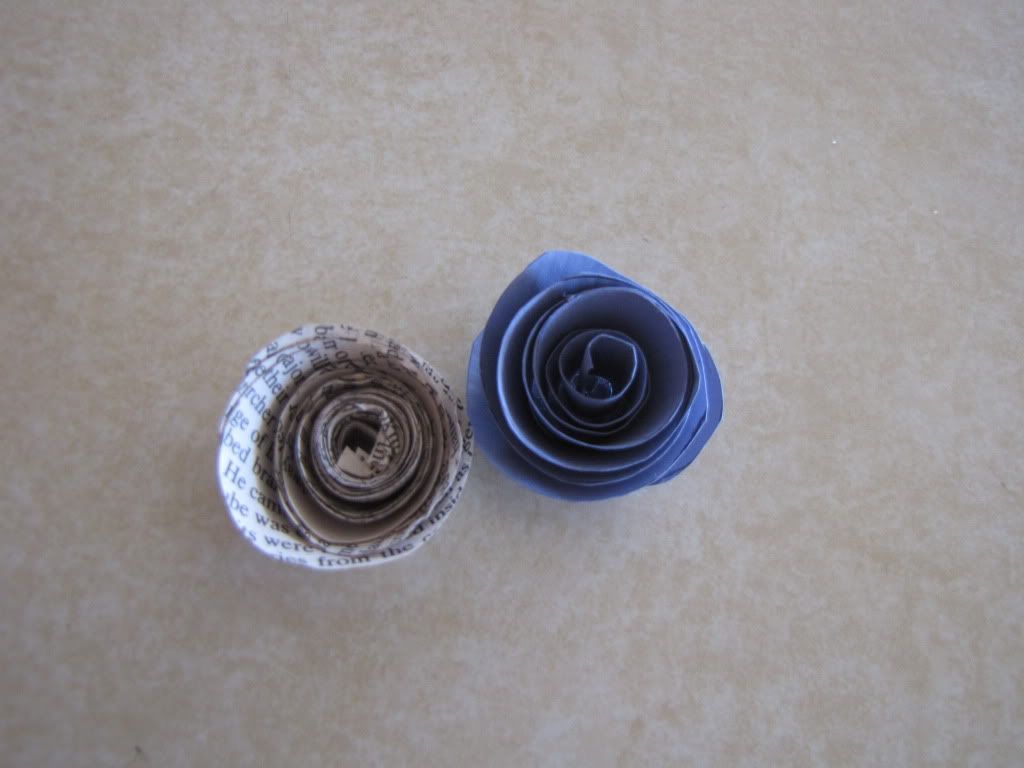
This is what you will end up with!! The possible ways these can be used are endless.  You can also make these out of old bookpages.  It you use old book pages you will want to use about 4 layered pages together.  One piece will not be thick enough.  You can view some other great tutorials here and here.


Wednesday, October 5, 2011

Poison Bottle Lables

These bottles are so much fun!  If you google Halloween Poison labels some really great printables will come up.  The ones I used for this project can be found here.


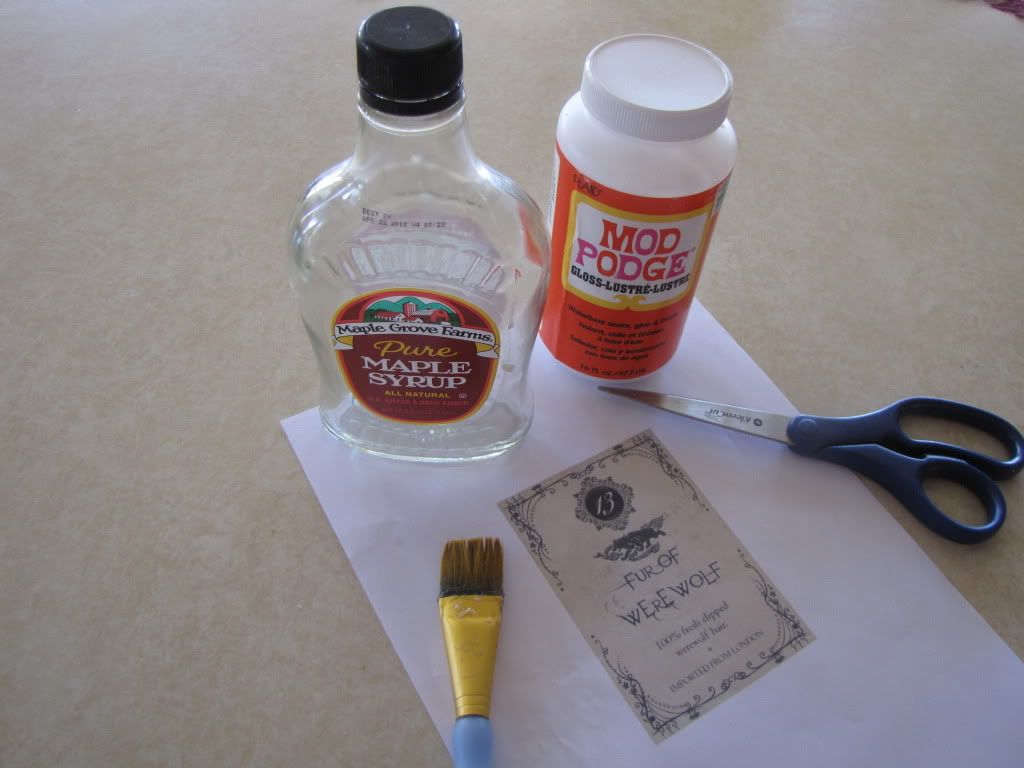
What you will  need:
A great shaped bottle
Mod Podge
Brush for Mod Podge
Scissors

Step 1:Clean and Remove Label from jar
Step 2: Cut Poison label to fit jar

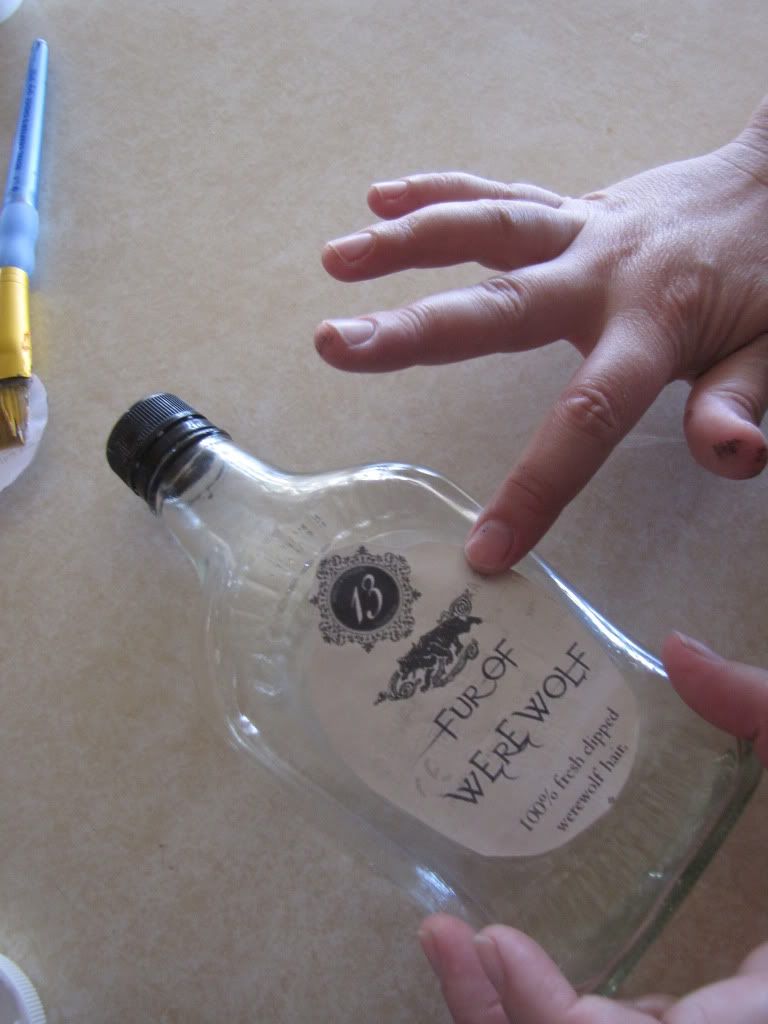
Step 3:Apply Mod Podge to jar


Step 4:Place lable onto the jar.  Don’t worry about it being perfect.  It is supposed to look old.
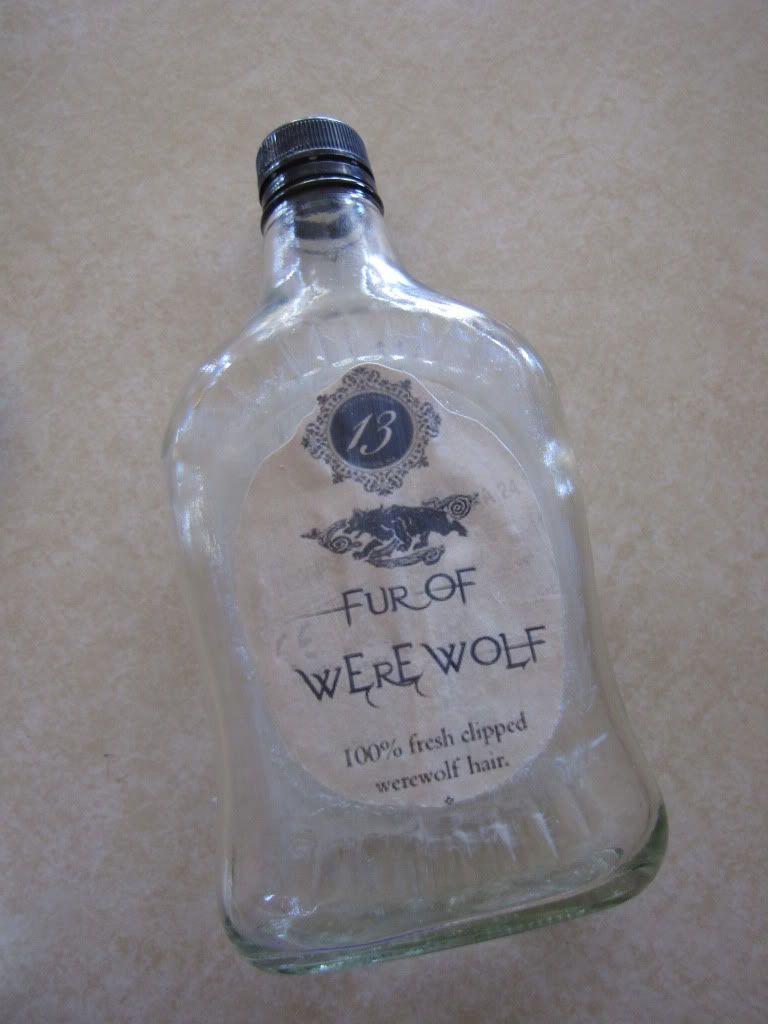
Step 5: Mod Podge over the top.  Let dry.


Note—You can distress it to make it look older by taking black acrylic paint, applying it, then letting it sit for 10-15 seconds then wiping off.


Monday, October 3, 2011

Water and Spray Paint Technique

This is a fun distressing technique that doesn't take much time, however, there is a slight learning curb. It may not look the prettiest but it will add a bit more character to an otherwise plain project/display. So don't let the finished product of this tutorial scare you off.  We will show how it could be used in an upcoming post.


Items needed for this project are:

Item to be painted (i.e. gold candle charger)
Spray bottle with water
Spray Paint in color of your choice
Clear paint sealer
Old Rag-slightly damp

Step 1:
Make sure that the item that you are painting is clean.


Step 2:
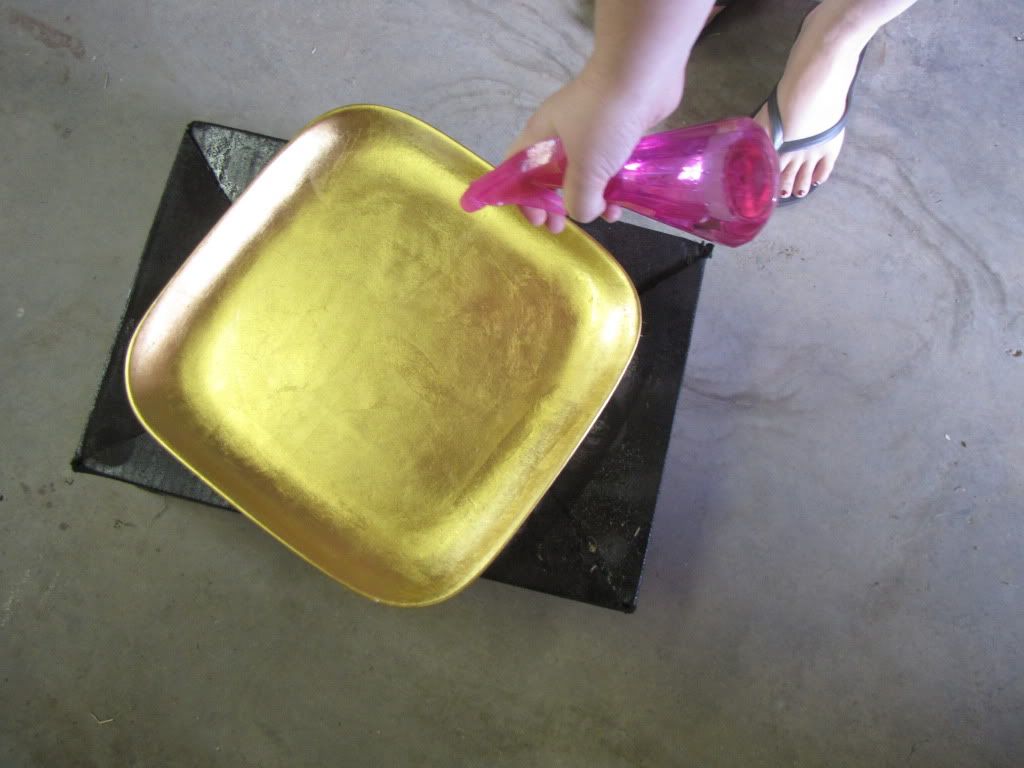
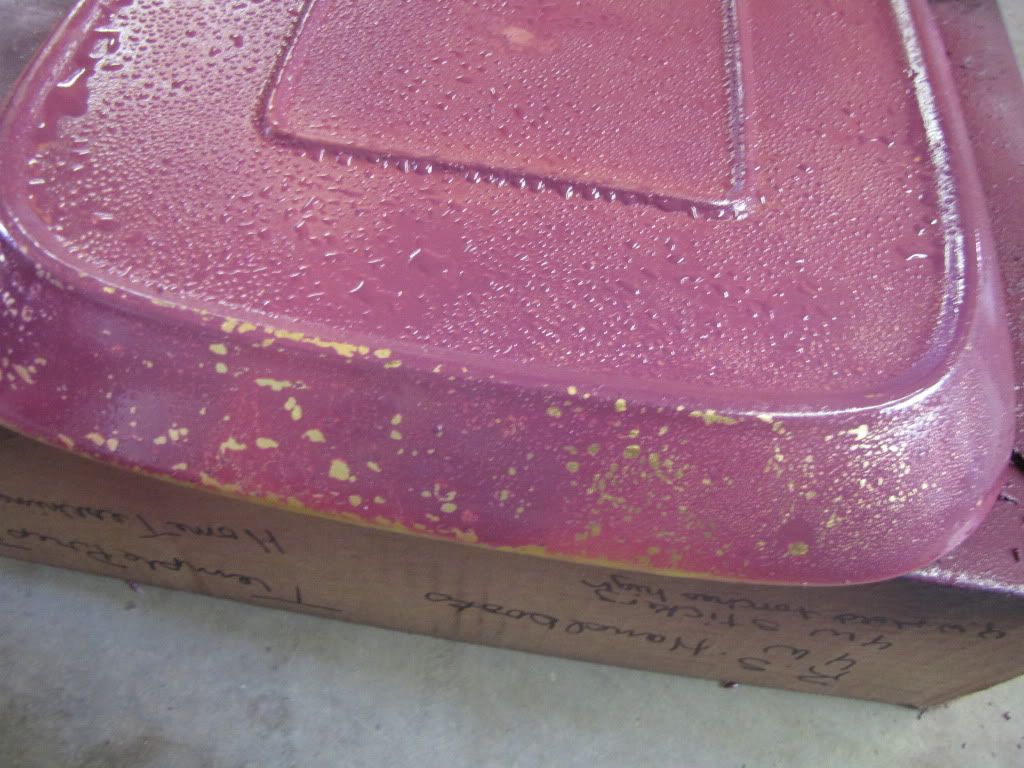
Spray water on the surface.  You want to use a good amount of water.


Step 3:
Immediately after you spray the water, you want to start spray painting over the water.  Completely  coat with paint.


Step 4:
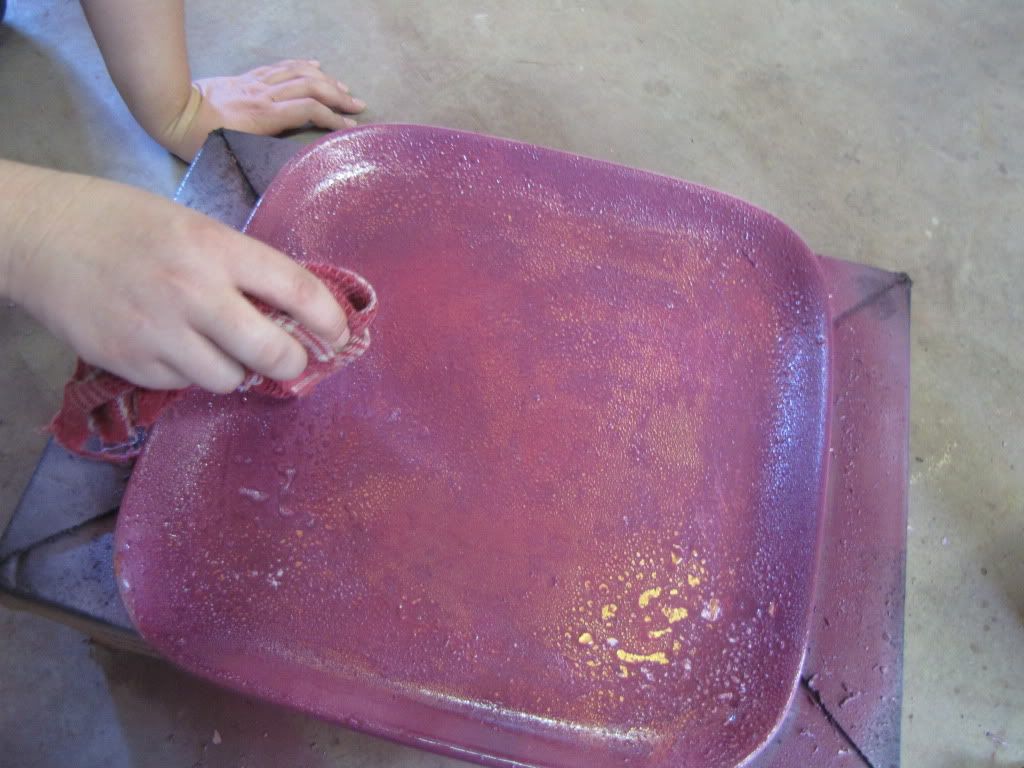
Wait 5-10 minutes for paint to dry.  But make sure to watch closely because you don't want the water to dry.  Take your slightly damp rag and begin rubbing in circular motion.


You can see in the picture how there is still water on the surface and what it looks like when you start to buff off the water.

Step 5:
When you have it the way you want it, spray a clear coat over it.

 ---------------------

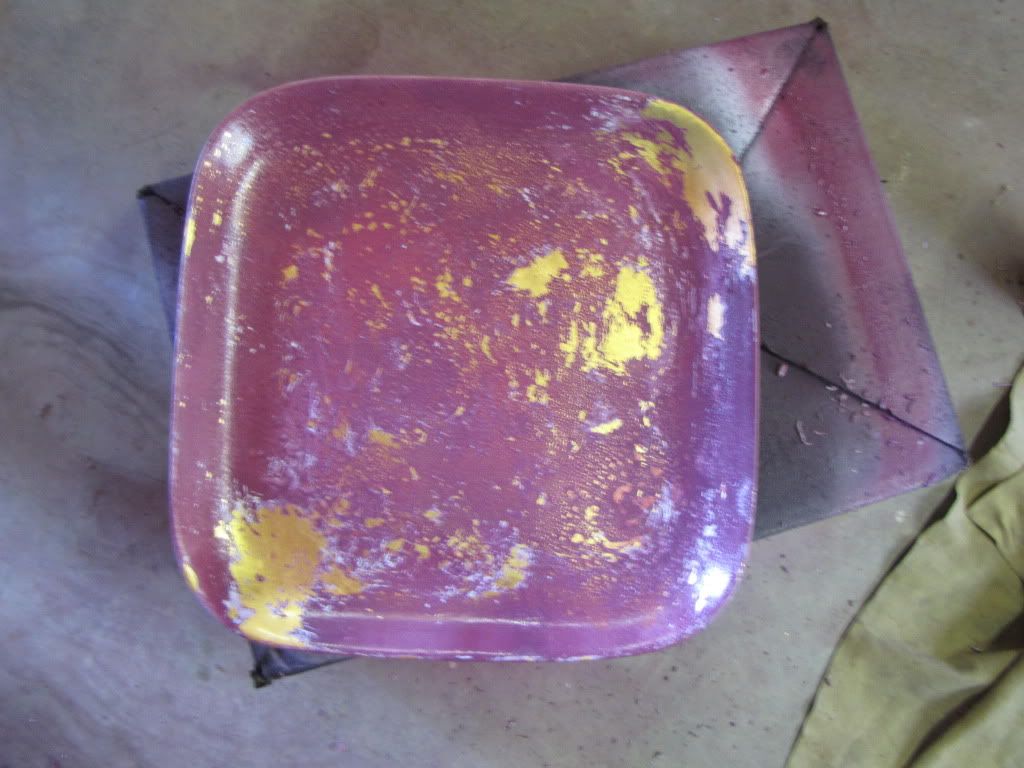
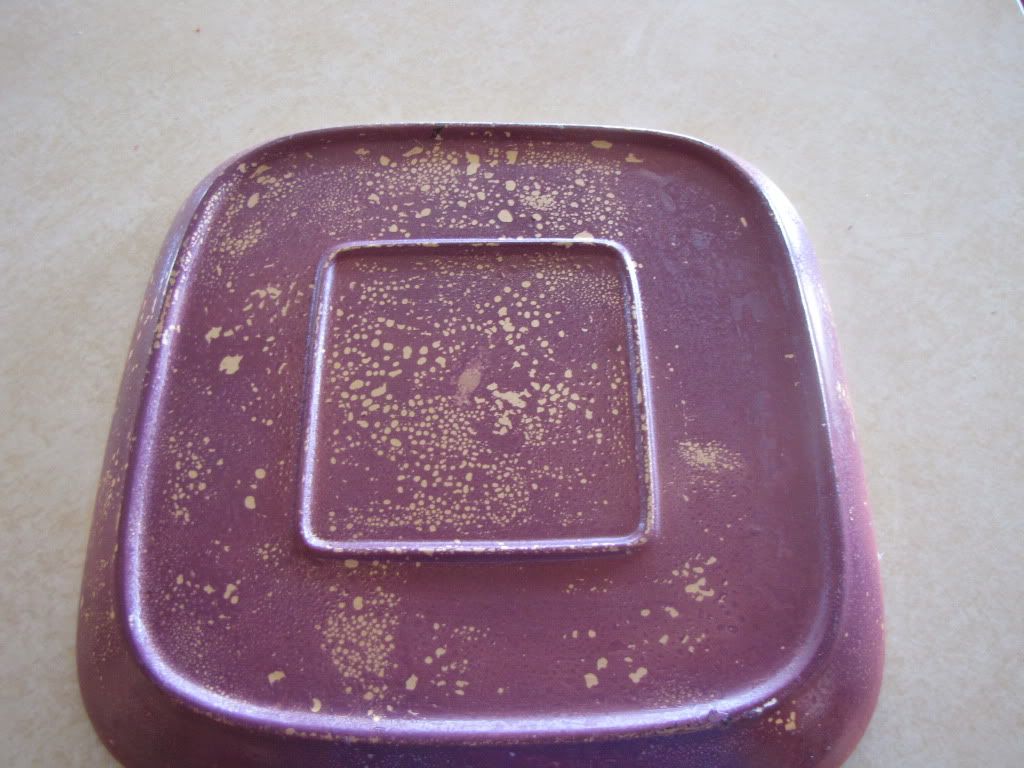
 Here are 2 examples of what the finished product might look like

Here is the front and it is really distressed.


Here is the back of the charger.  It simply has the water spots lifted off.

Now that the painting technique is done, we look forward to sharing with you how we can use this item.  
To Be Continued....


Saturday, October 1, 2011

Glitterd CandleSticks

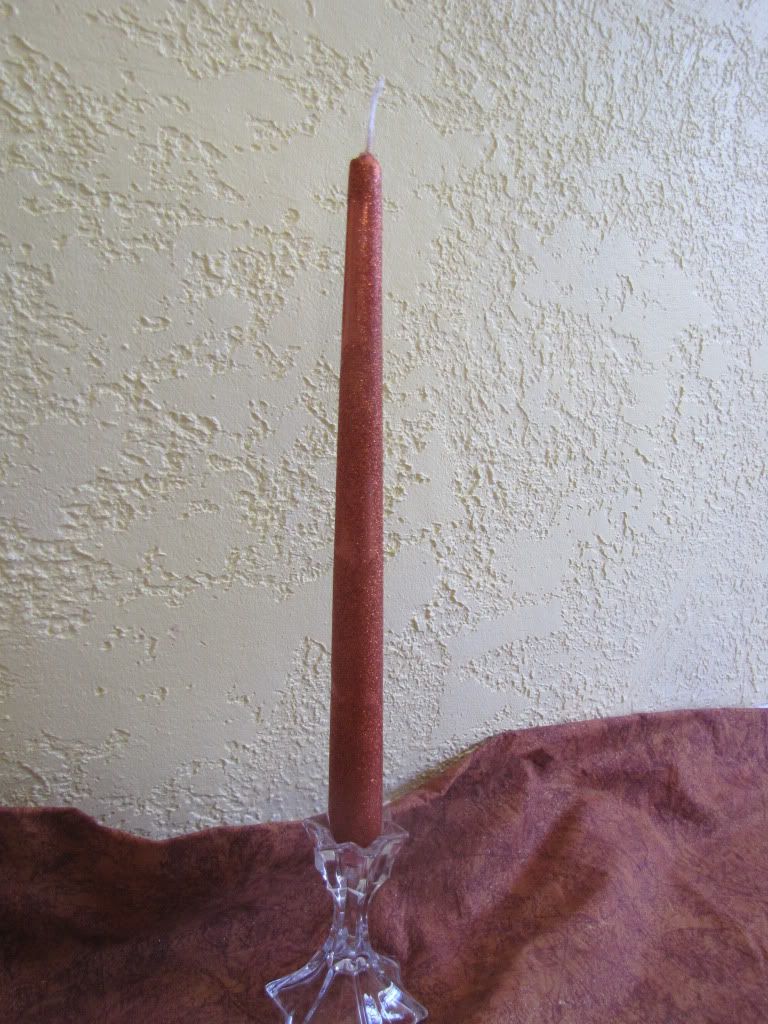
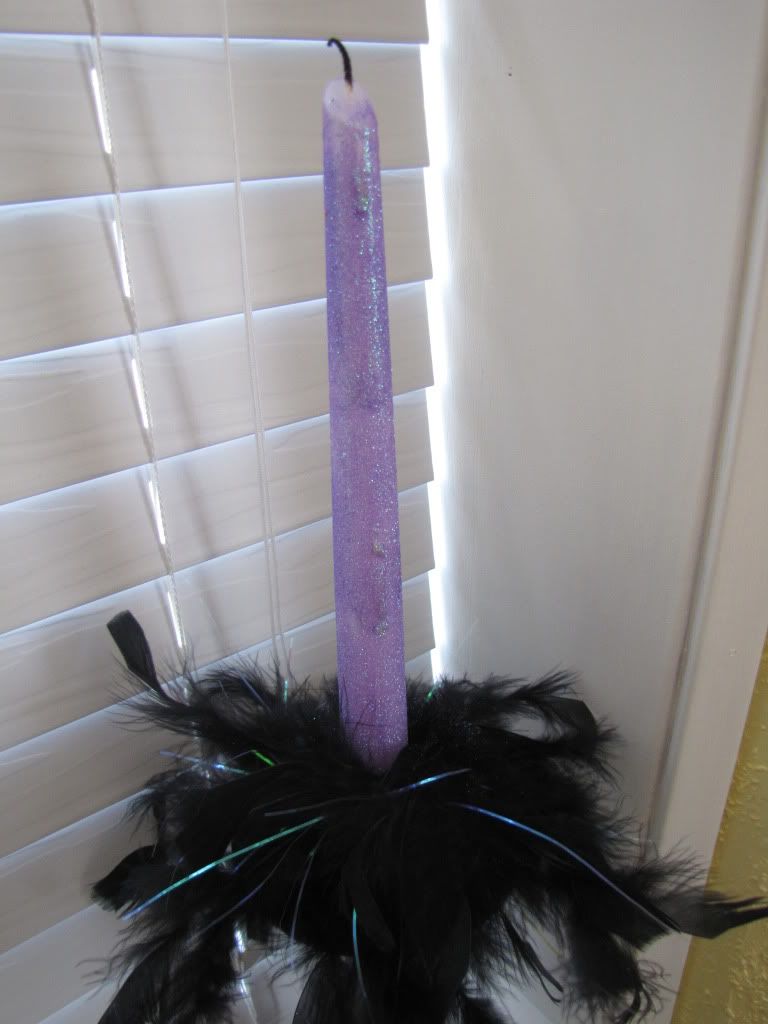
 Let's just say WOW to this project!!!  This will add that special pop to your decor and it hardly costs anything.  Plus it is fun and easy!!!  These candles only cost us 75 cents plus the cost of the glitter. 
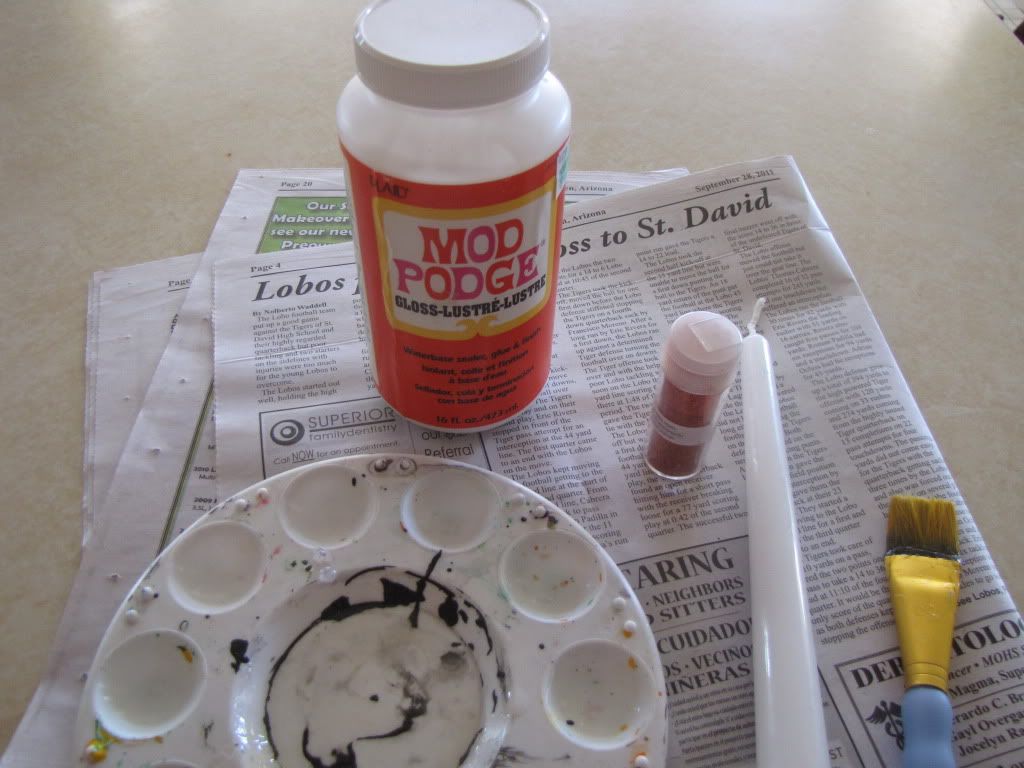
Begin with the following items
Mod Podge
Inexpensive Candle
Glitter
Brush
Painters Tray


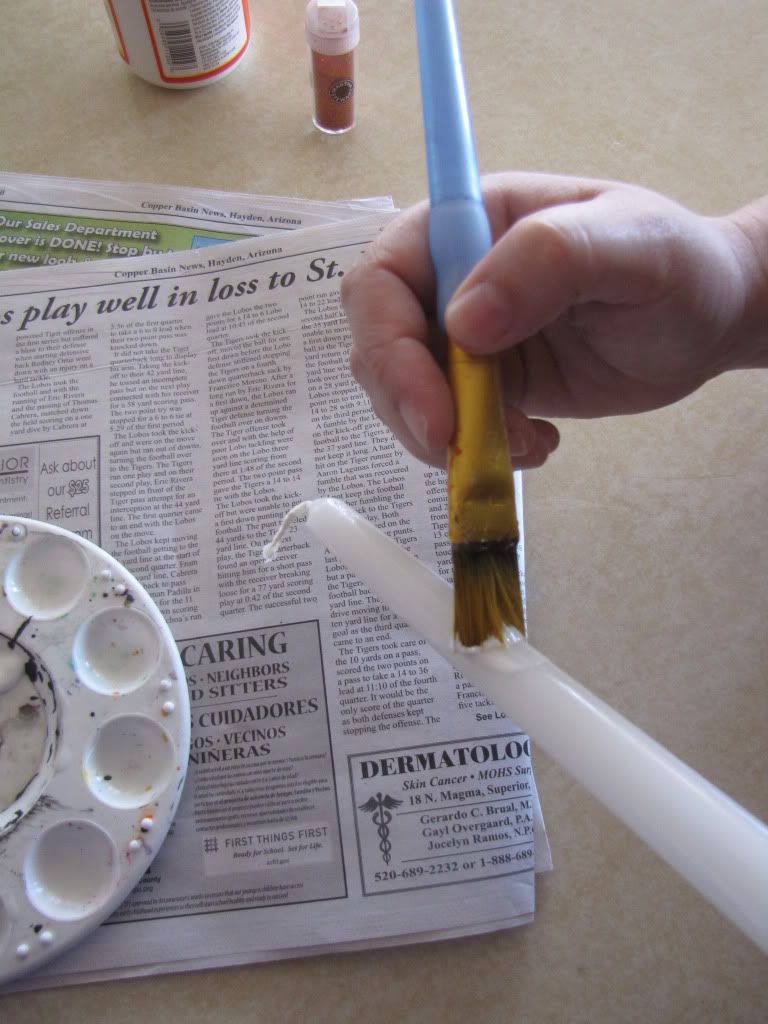
Step 1:Pour a small amount of Mod Podge onto painter tray.  Grab your brush and starting at one end, begin applying Mod Podge to the candle.  Always work in small sections.


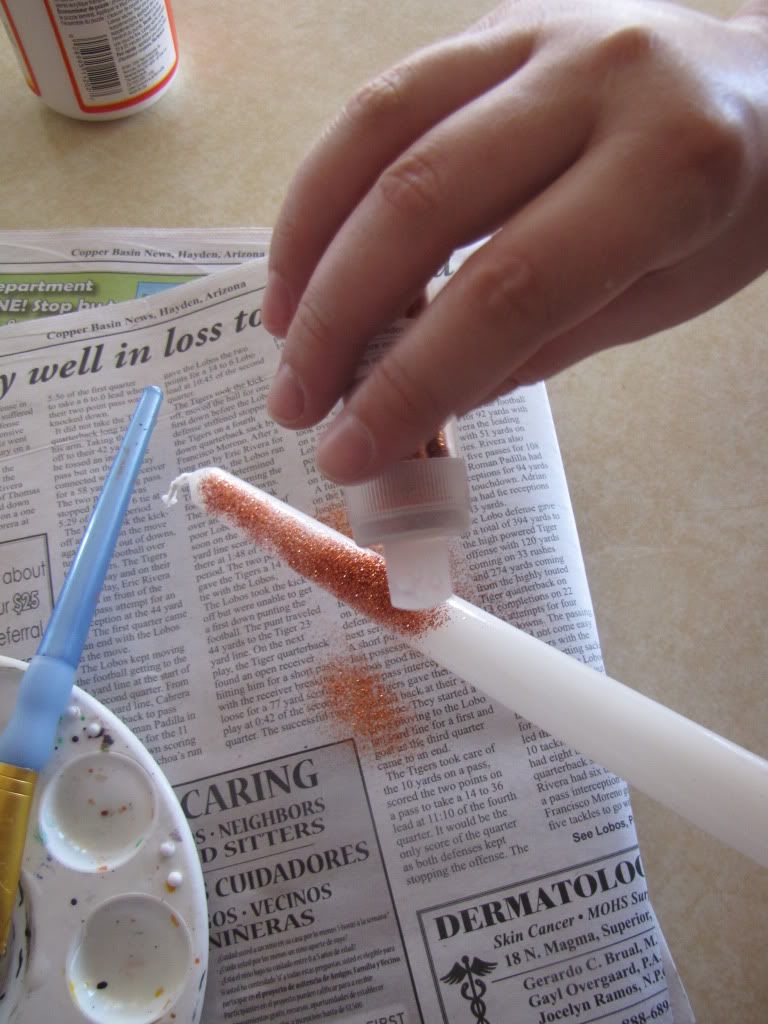
Step 2:  As soon as you apply the Mod Podge, apply glitter.


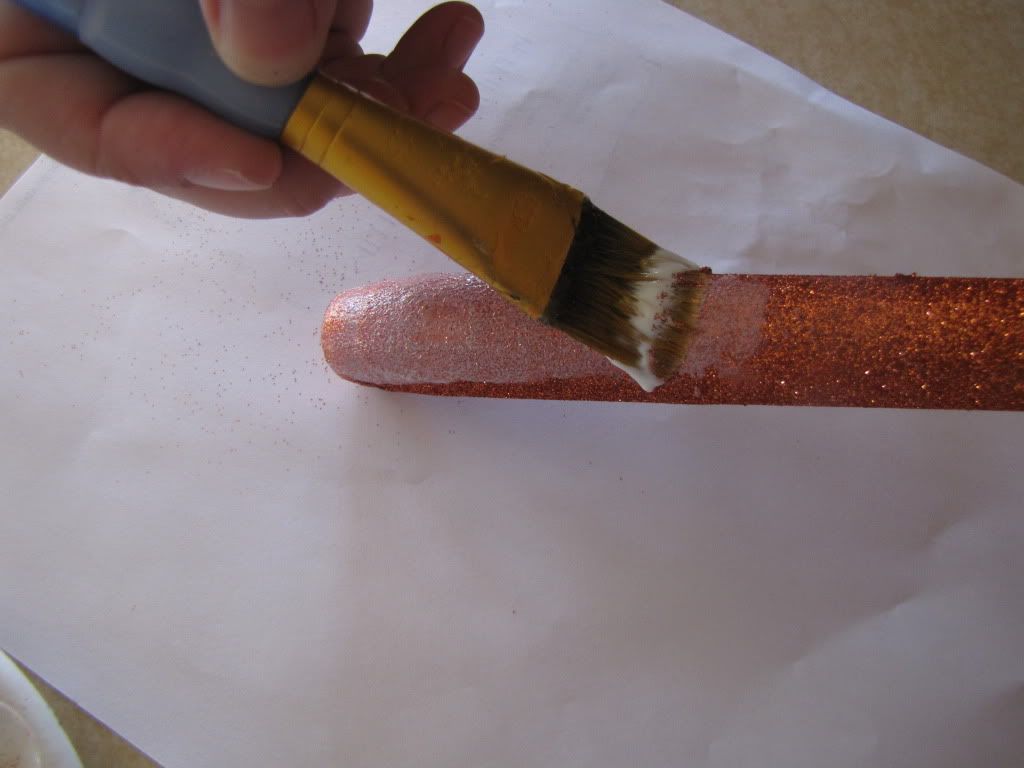
Step 3:  Allow to dry and if needed apply a second coat of glitter.  When you have the glitter the way you want it, apply a top coat of Mod Podge to seal in the glitter.


Step 4: Display And Enjoy!!!


This is a sneak peak of a candle that was made for Cork’s tablescape.  We will show the full tablescape in tomorrow’s post.

Friday, September 30, 2011

Lace Vase

 This is the easiest and fastest little project that is so much fun!!!


Grab the following for this fast and fabulous creAcipe!

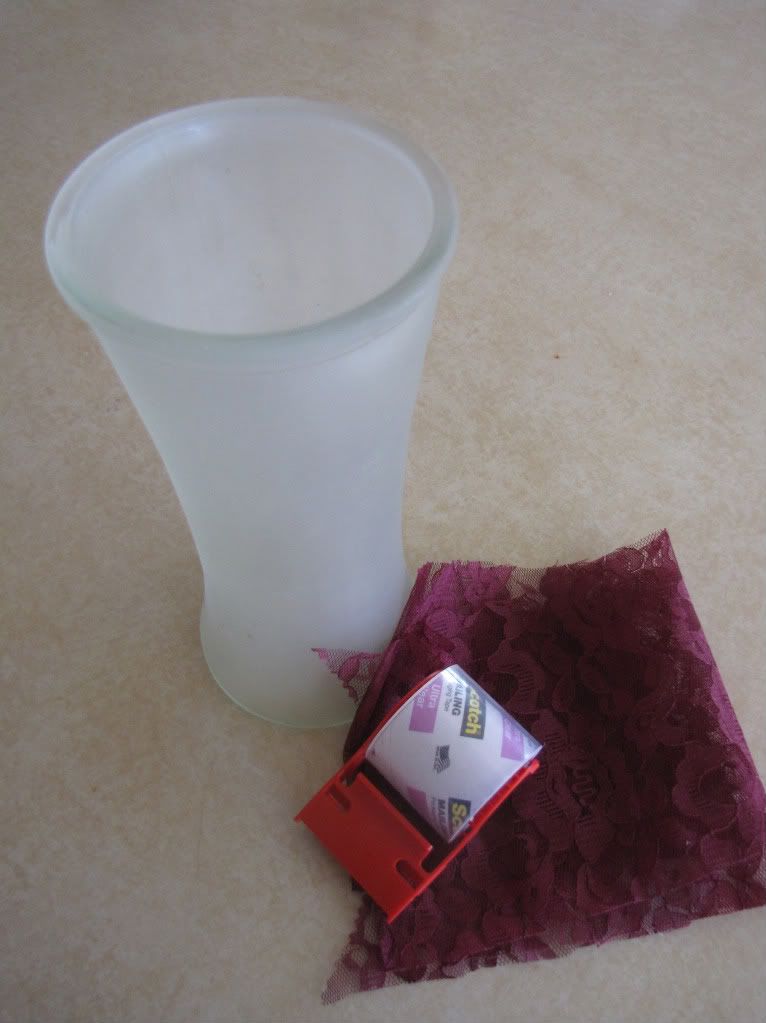
 Grab the following for this fast and fabulous creAcipe!

Glass Vase
Spray paint color of choice
Adhesive


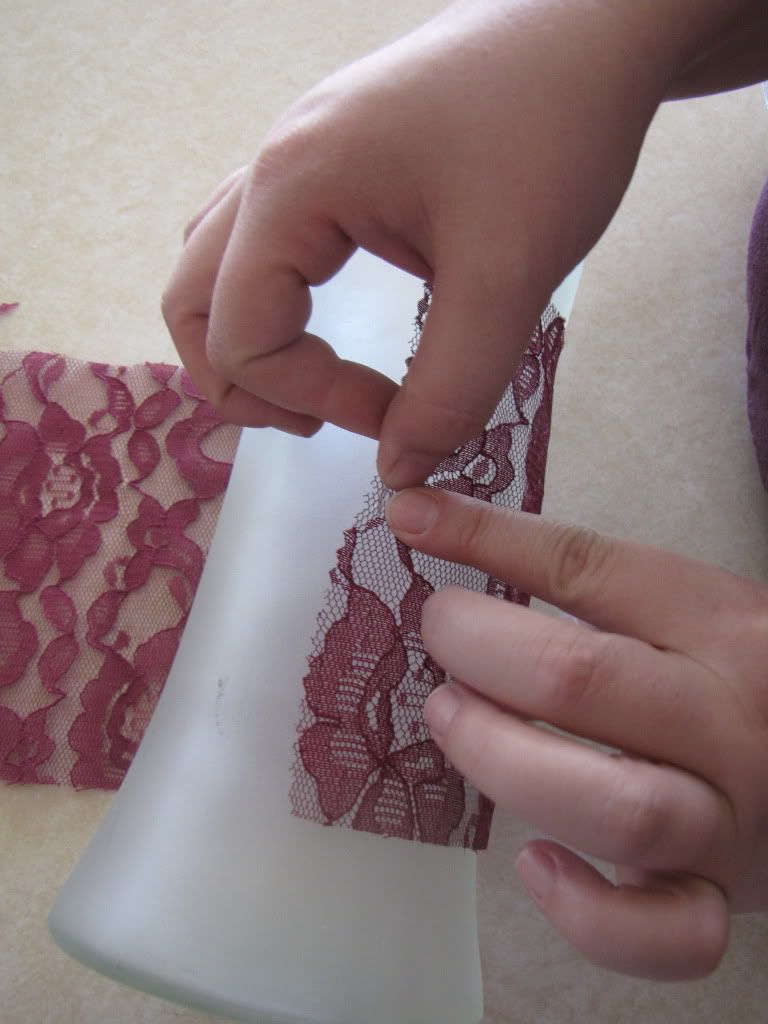
Step 1: You will need adhesive that will securely hold the lace.  We originally tried tape which didn’t work, so we used a dot of hot glue.  It held it well, but we think that the best glue would be some repositionable spray adhesive.  We plan to retry this in the future!  We will update you.

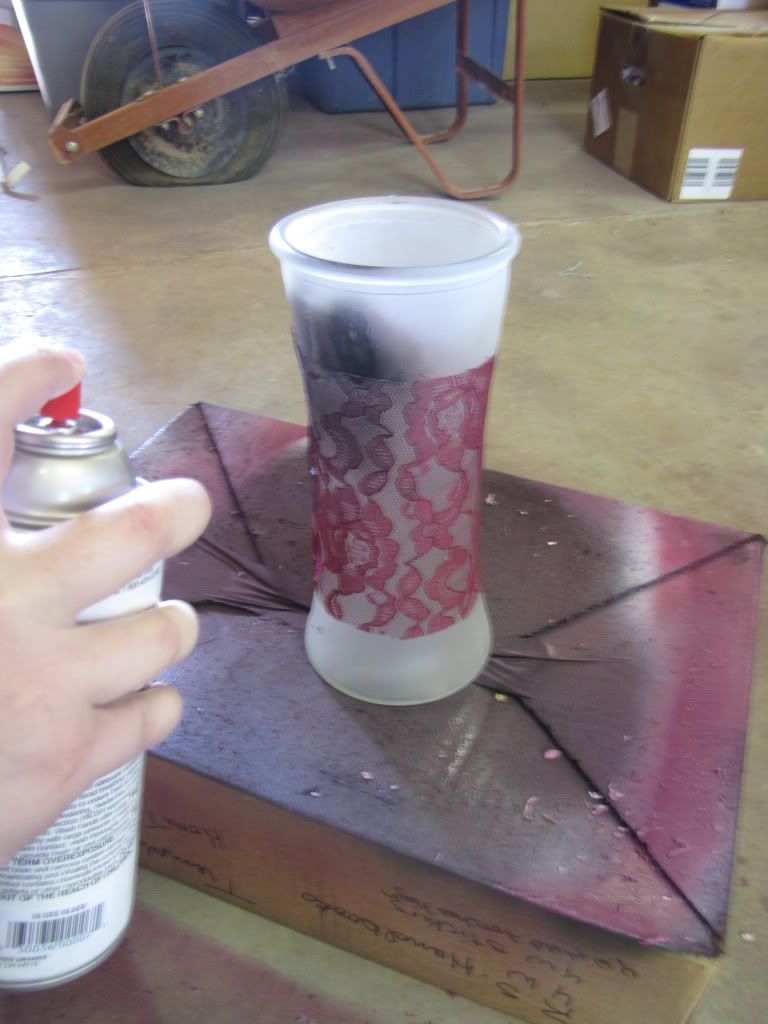
Step 2: Once the lace is secure, you can simply start spray painting. Completely spray vase.

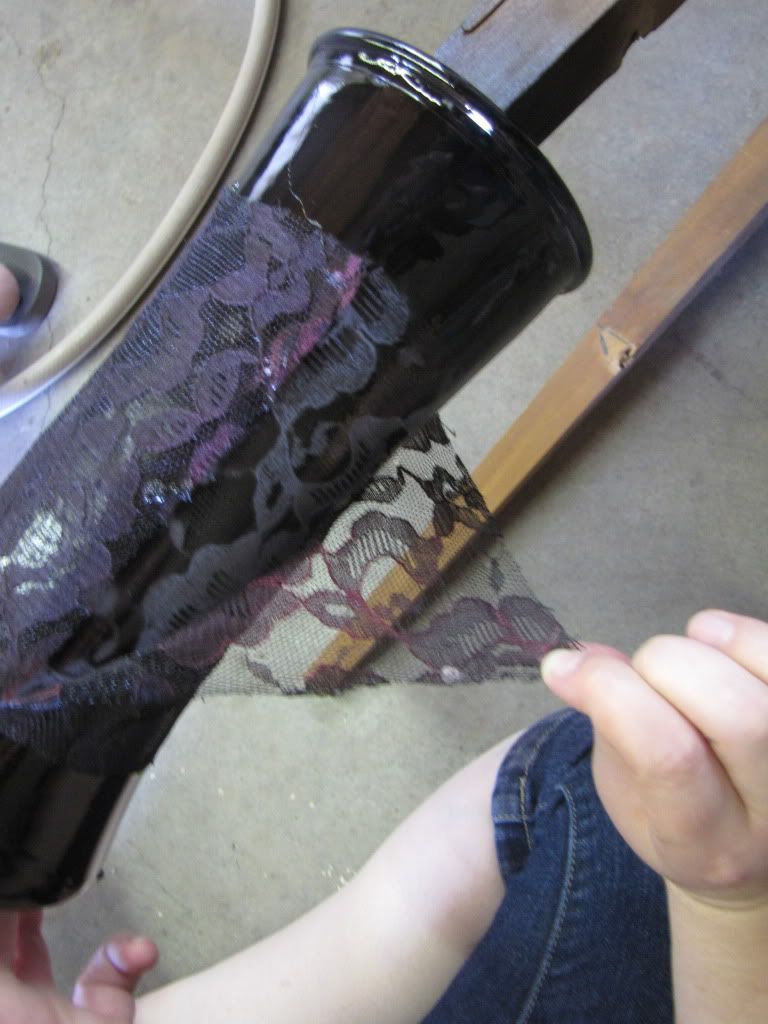
Step 3:  Once sprayed let sit for 2-3 mins then carefully remove the lace.


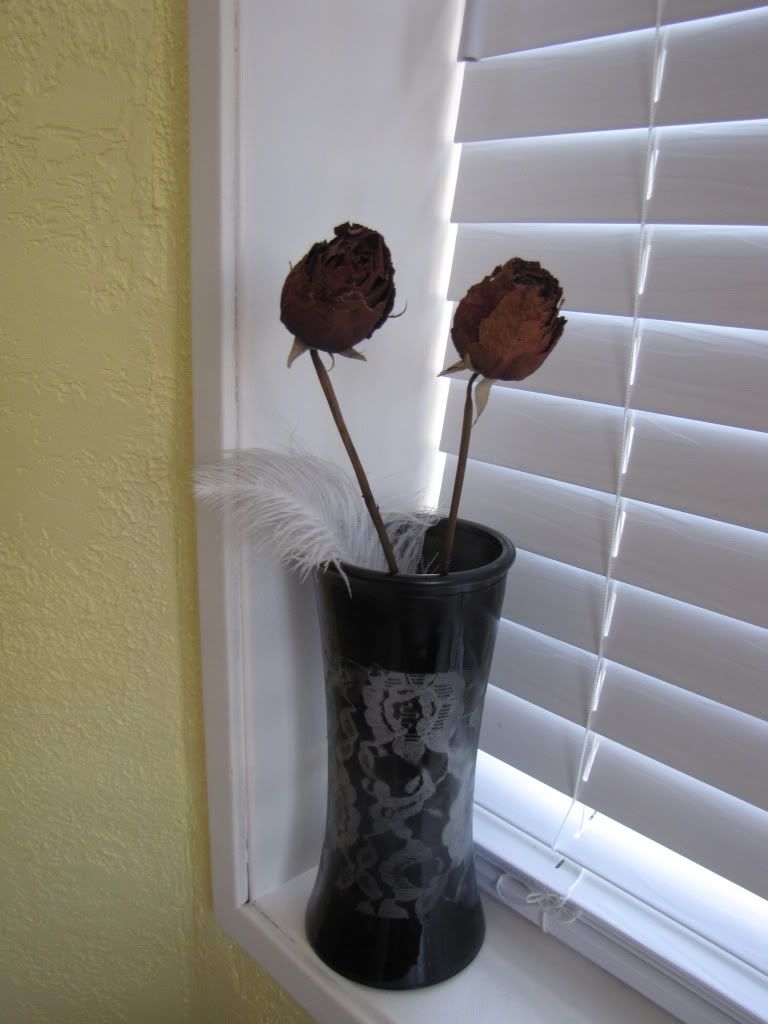
Step 4: Enjoy!!!

Thursday, September 29, 2011

Framed Fingerprints

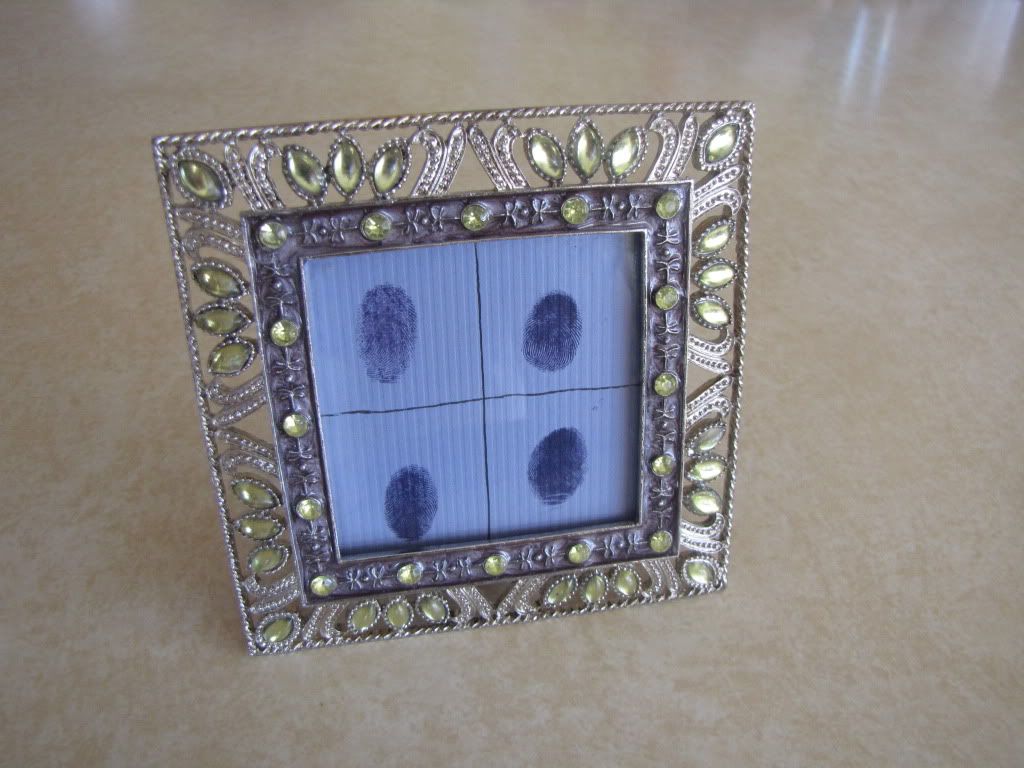
One day I(Bry) was cuddling with one of my little ones.  I looked at those little hands intertwined in mine and I recognized that special  moment as bitter sweet.  I love those little fingers but I knew that they would not be little forever.  This project is in honor of those moments when those little fingers leave their hand-print on our hearts.  As I reflect back on these days, I hope to remember that is was the simple moments when their little hands where intertwined in mine that mattered the most.


This project will take 10 mins tops.
So Lets Create this VERY simple project!!!

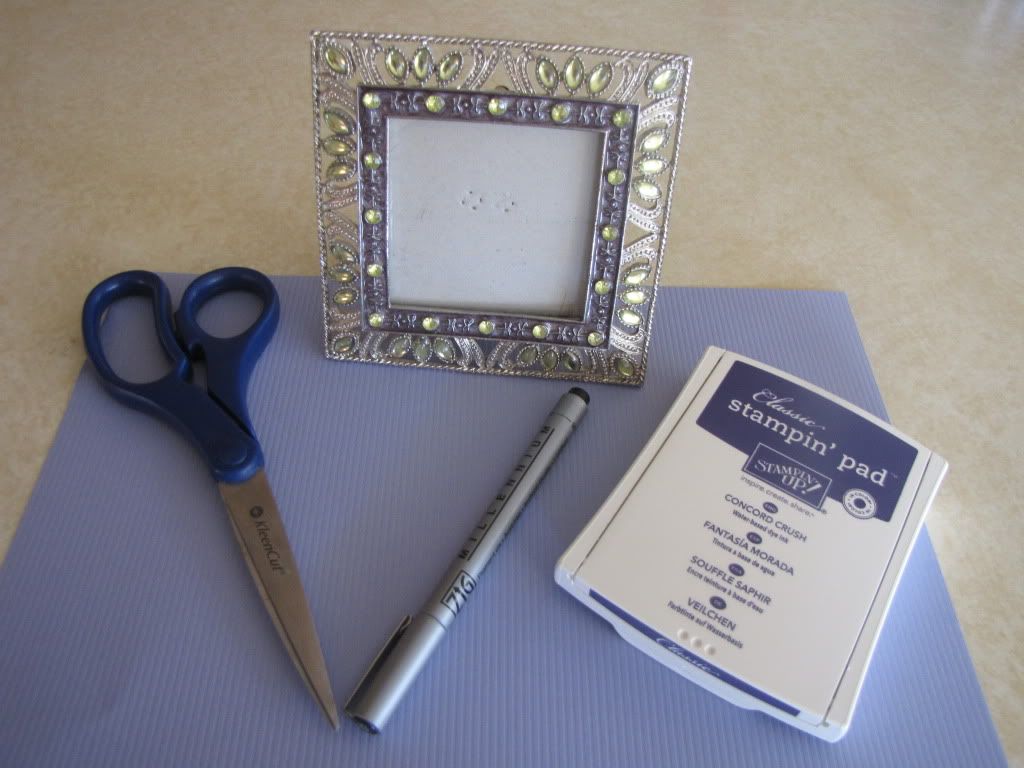
For this creAcipe you will need the following items:


Small Picture Frame
1 sheet of Cardstock that coordinates with the frame
Crafting Pen
Ink Pad
Scissors


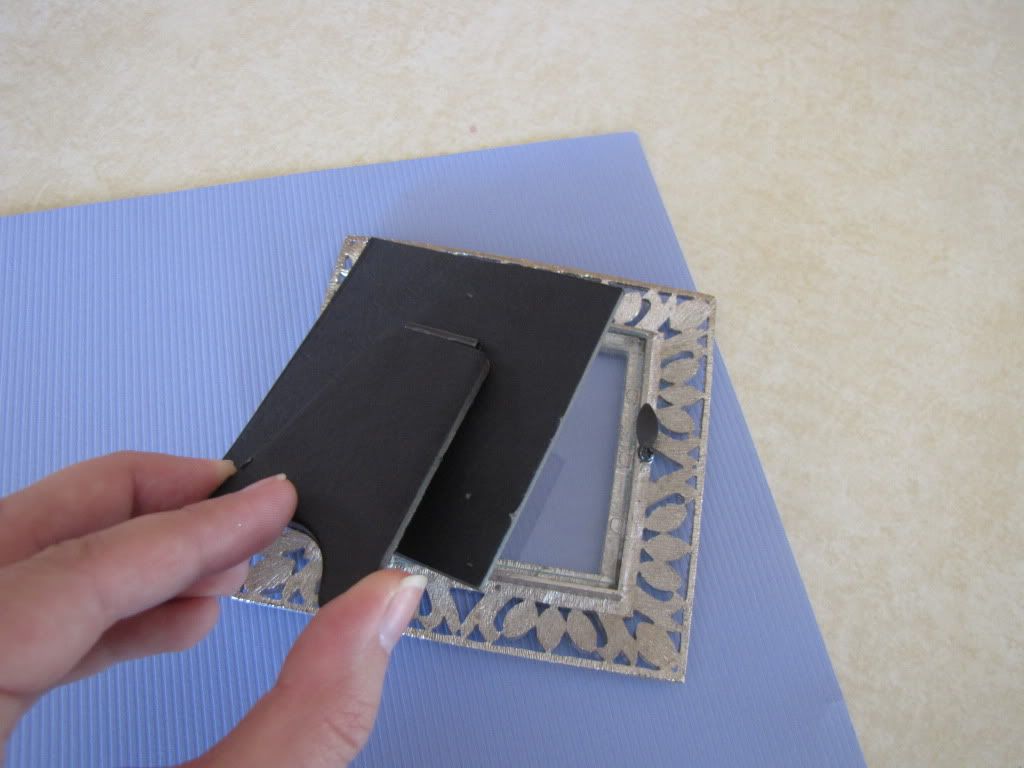
Step 1:  Remove the back of the frame

 
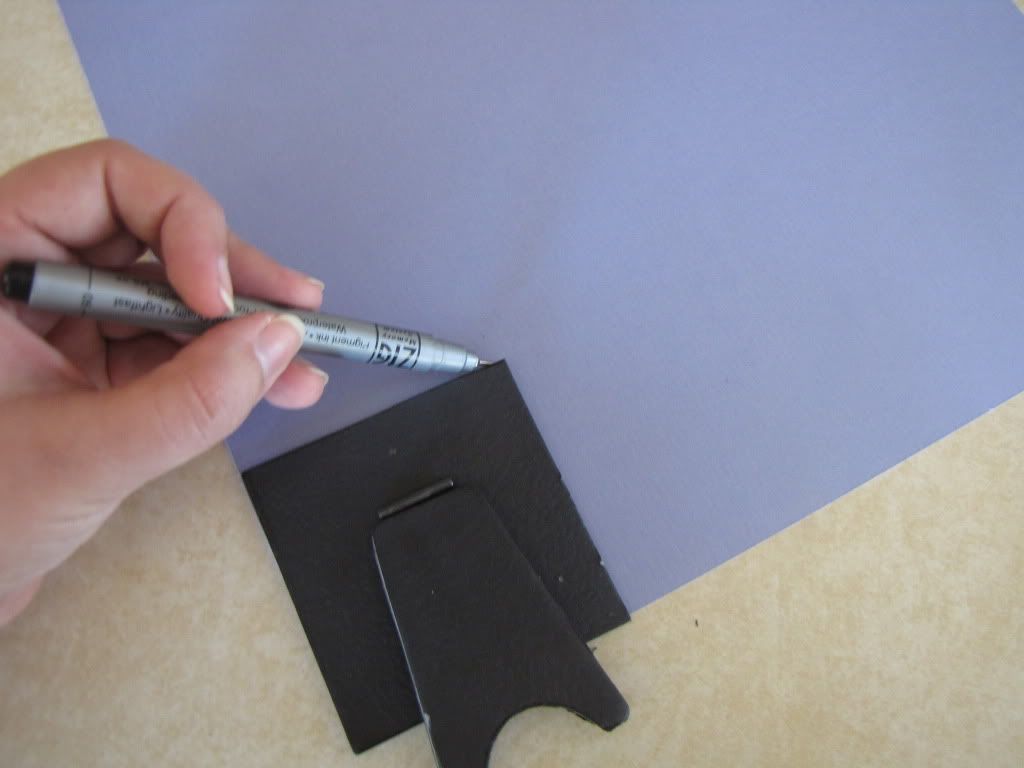
Step 2:  Using the back of the frame as a guide, trace a square onto the cardstock.

Step 3:  Cut out the square.

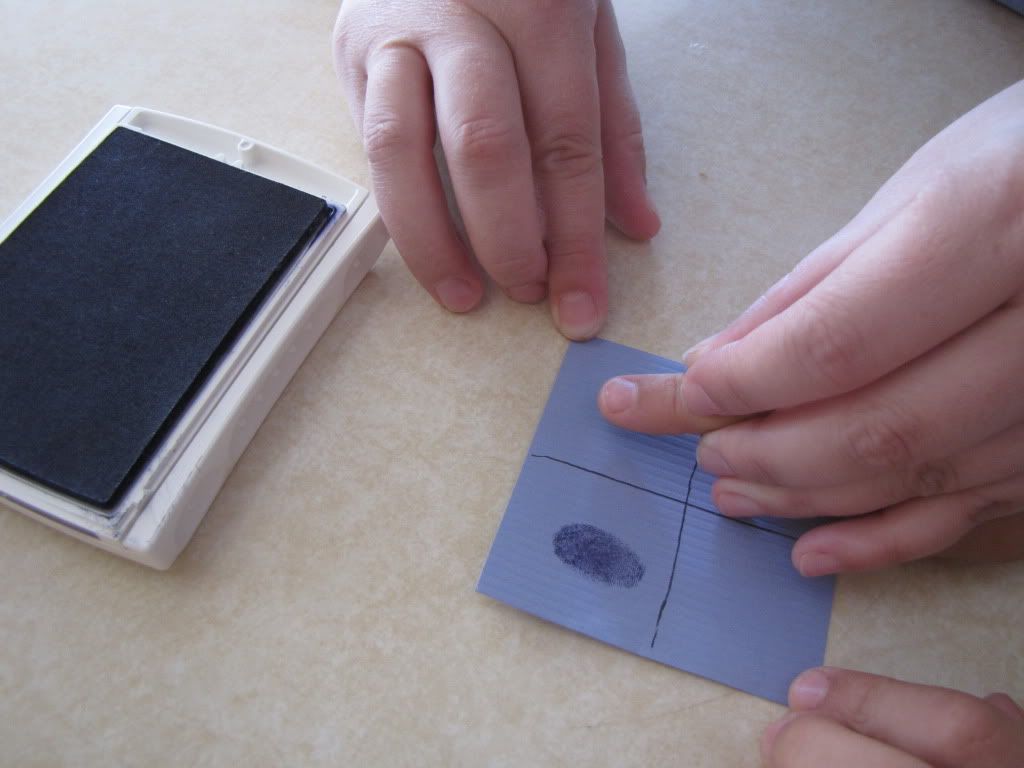
Step 4: Using your craft pen freehand section onto the cardstock.  One section per fingerprint.  

Step 5:  Now it is time for the fingerprinting! So grab your ink and your little culprits!!!  

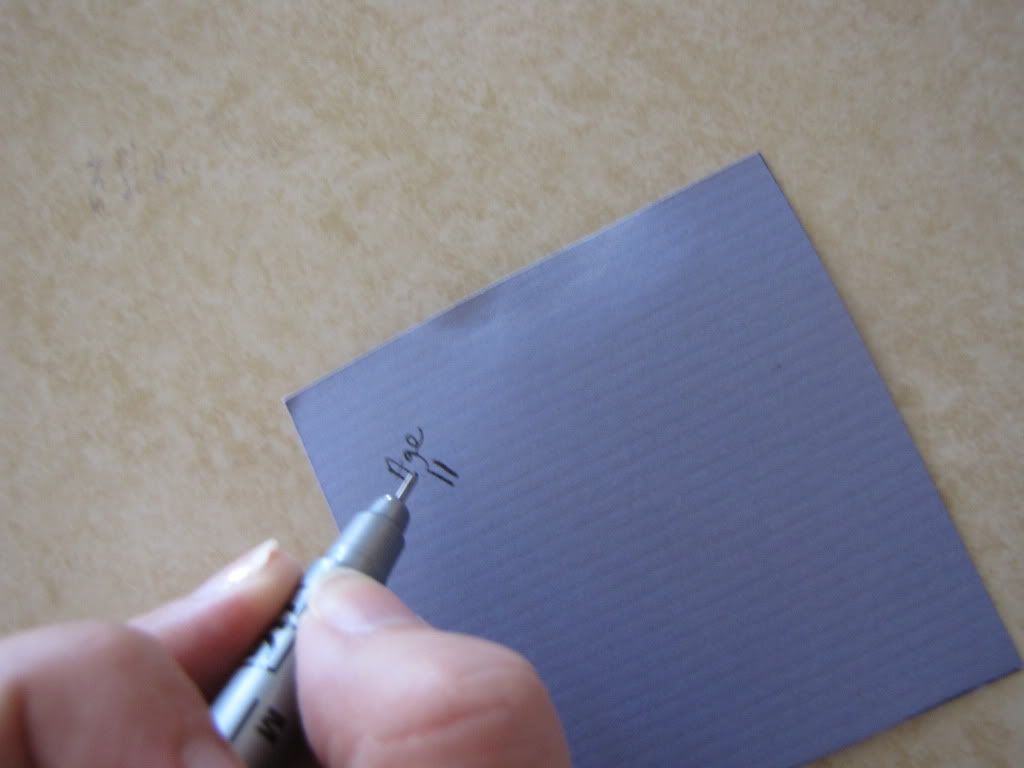
Step 6:  I would strongly recommend writing the names and ages on the back of the cardstock.  I always think I am going to remember, but I don't.

Step 7: Reassemble your frame and enjoy your creation!


Tuesday, September 27, 2011

Cake/Cupcake Stands

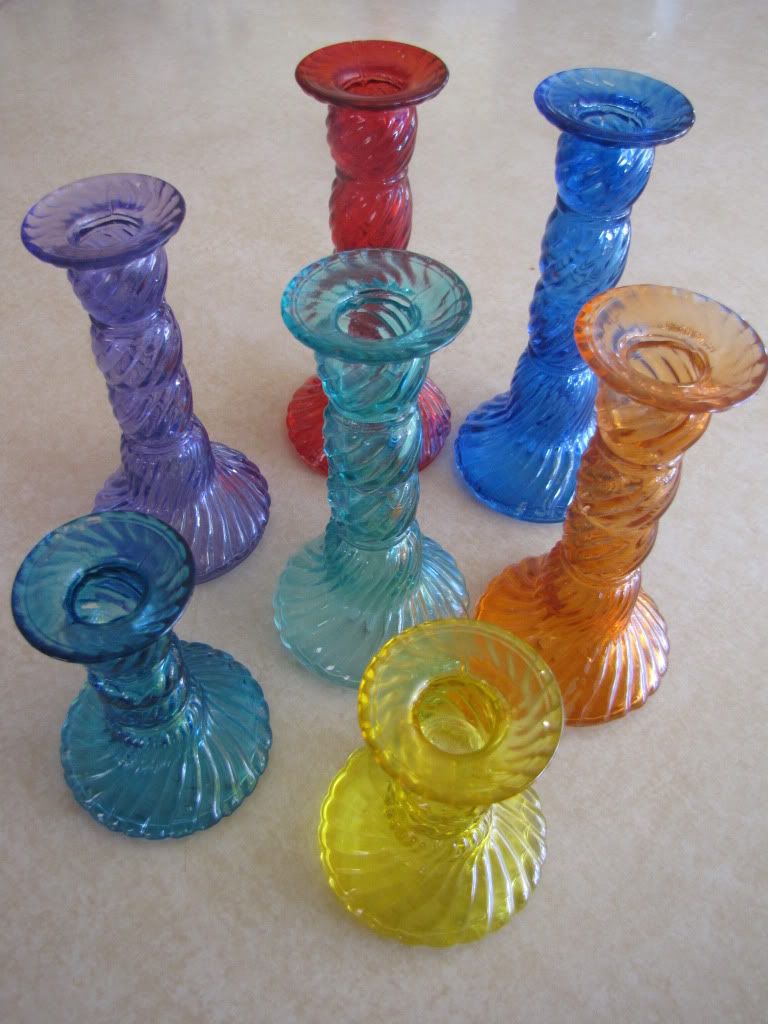
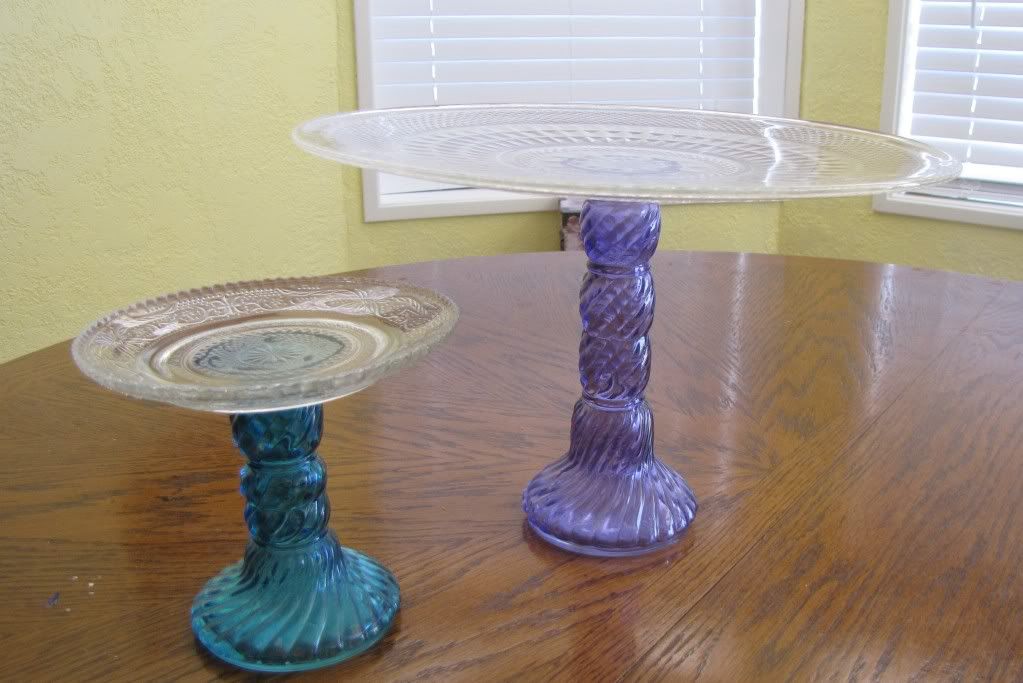
We were at our local thrift store and came across these fun multicolored candlesticks.  When we saw them we knew we had to have 'em.  They were just way to fun to pass up.  We knew right away that they were going to be turned into cake stands.  Can't you just imagine these set out on your Easter table, at a baby shower or at a birthday party!!!  The possibilities are endless!!!

So Lets Create!!!
 
This creAcipe will begin with the following items:

Candlestick               Hot Glue Gun
Platter                        Hot Glue Sticks
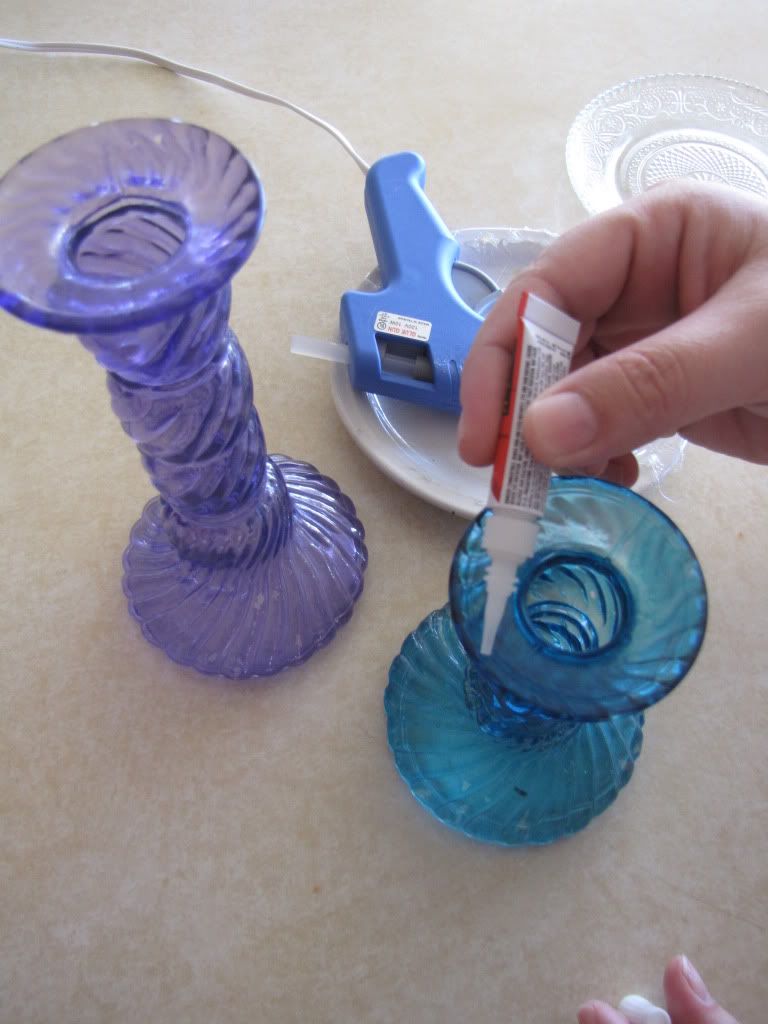
Superglue


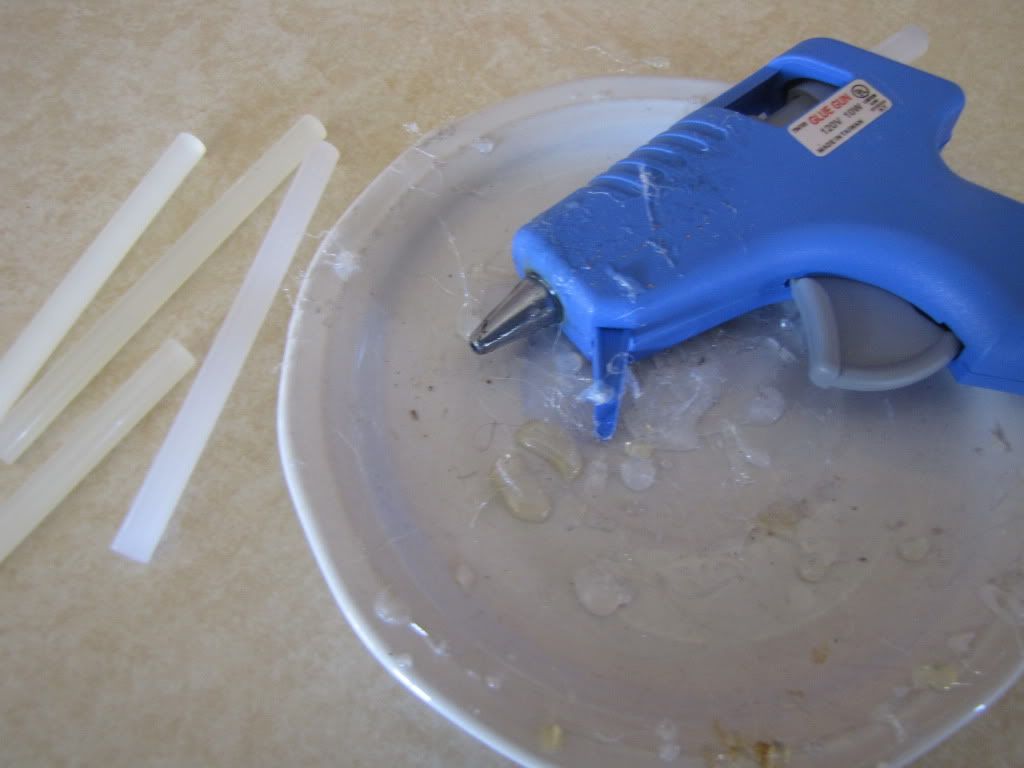
Step 1:  Preheat your hot glue gun!

Step 2:  While hot glue heating it is prep time.
-Wash and Dry your candlestick and platter to ensuring that they are completely clean and dry.

Step 3:  It is time to assemble! 

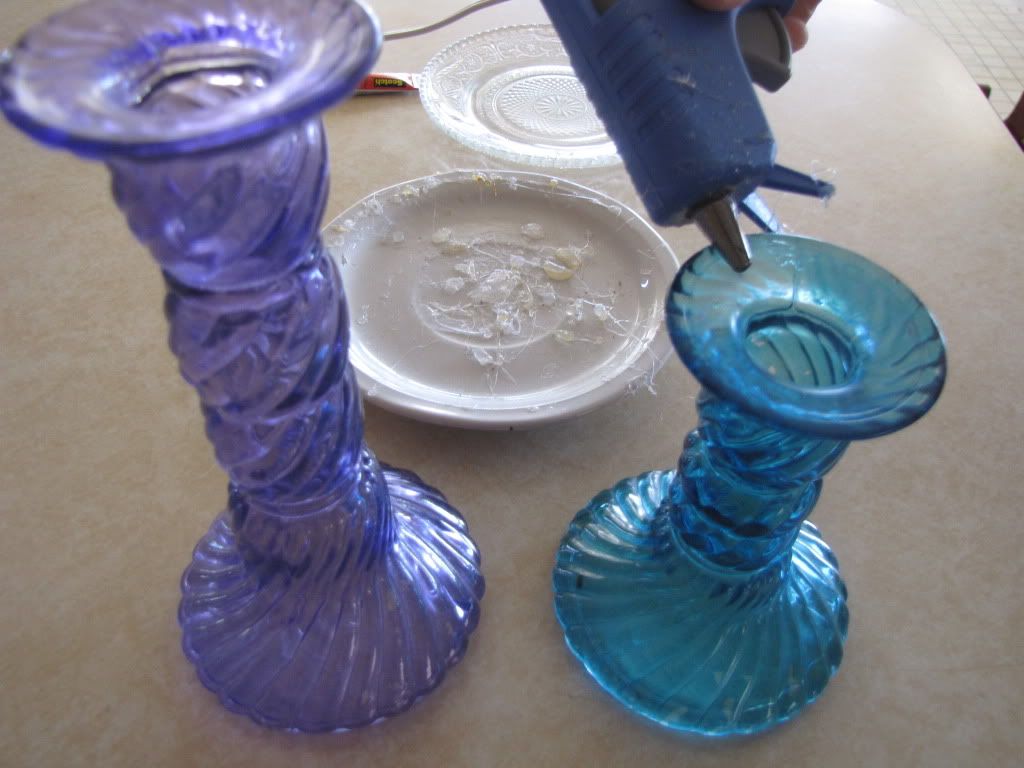
*Take the superglue and glue around the outside edge of the candlestick


*Next, take the glue gun, pull the trigger, and let the glue come flowin’ out!!!  Put a good amount on the top of the candlestick.


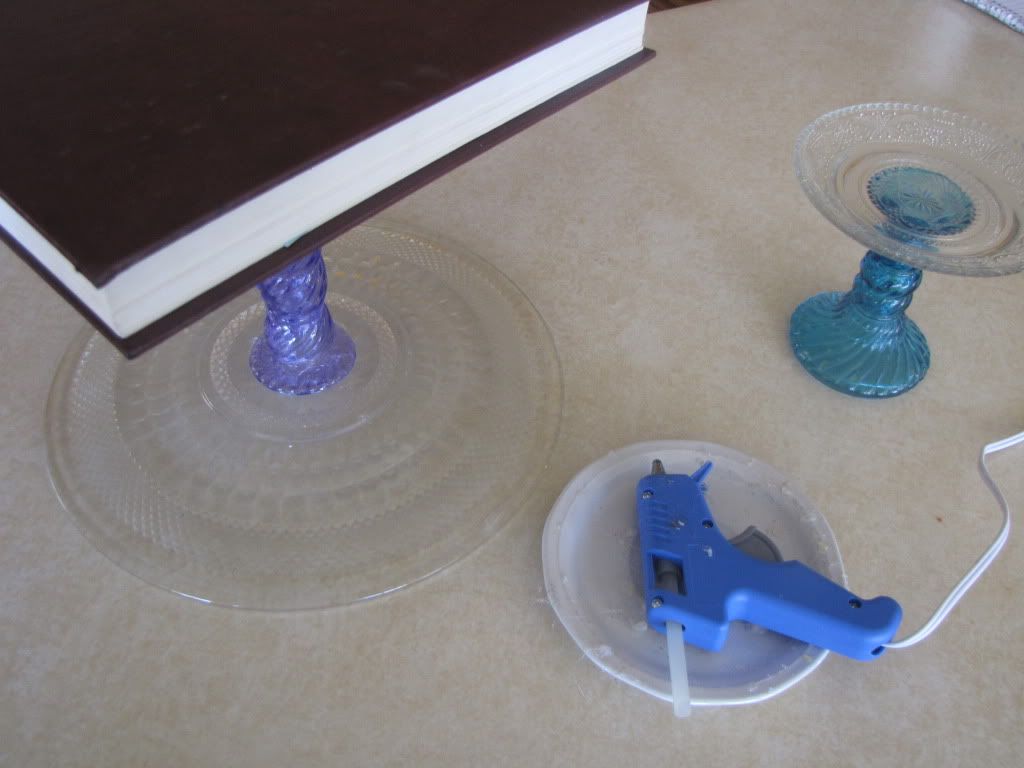
*Take the platter and place on top of the candlestick.  Apply pressure for about 15-30 seconds.

*Carefully flip over and apply pressure.  If needed place a heavy book on top for about 20 mins.


There you have it!  A quick, simple, and inexpensive craft that you can use to WOW up your table!!!

You can find the creAcipe card for this project here.